Having an organised itinerary really helped us all stay on task and feel reassured that we were on track. As such, I created a group chat and posted an in-depth schedule for each week, including timing, where everyone would be, and their tasks. This was filled in by asking people about their schedules and what they would like to be doing to help move the project along.
Before we could create anything, we needed mock-ups, measurements, and a material list. Sissi was placed on a sketch mock-up and miniature set design. Jay created a 3D model, I created a measurements list, and we all quickly agreed to use cardboard exclusively because it was the easiest to find in the university building, weighed very little, and would stand up on its own.
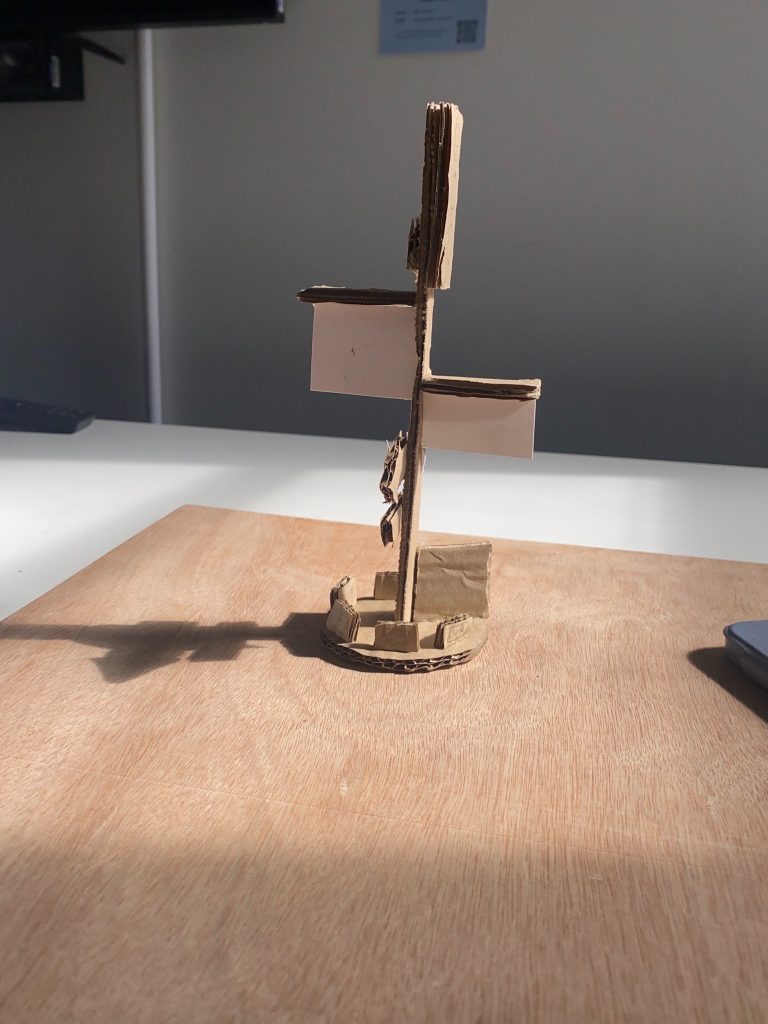
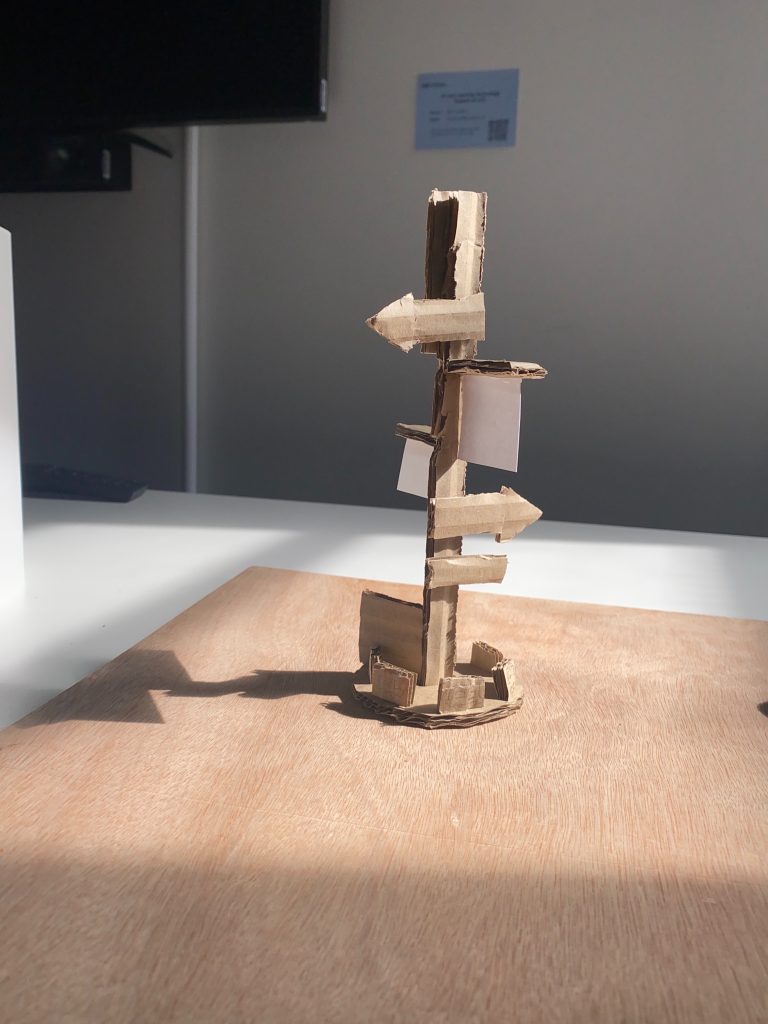
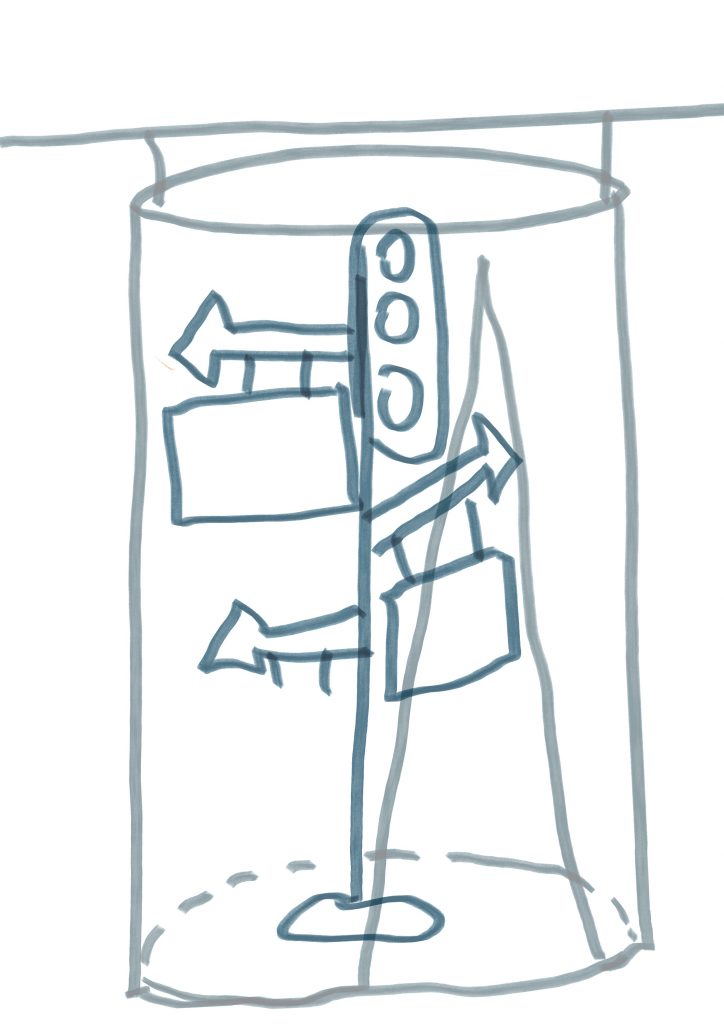
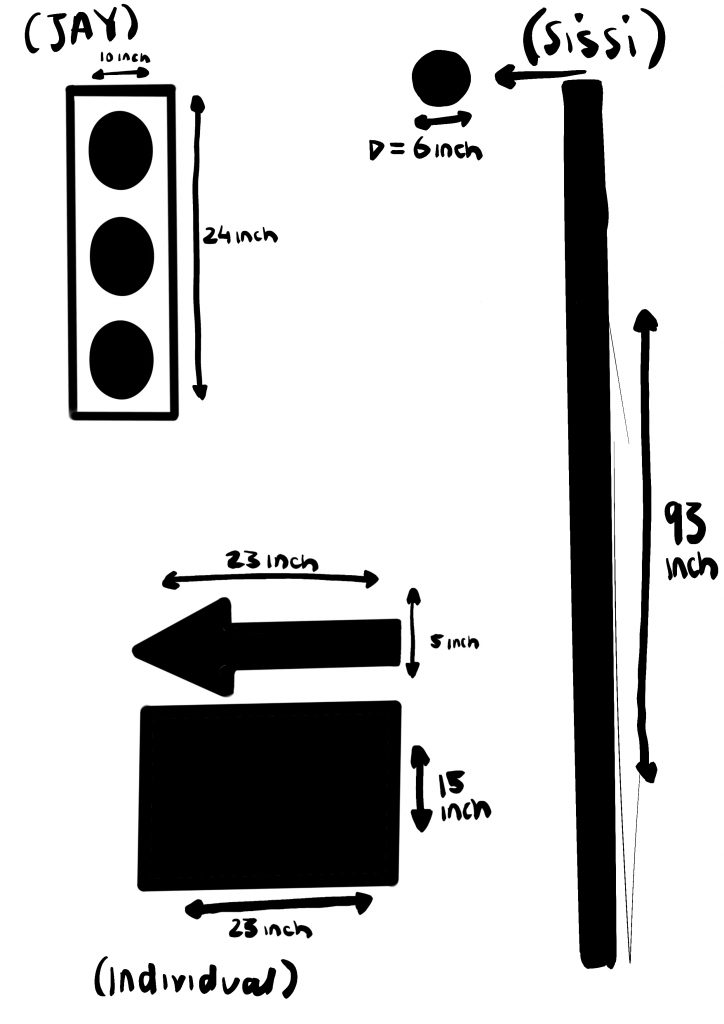
This was all completed on day one. Our next assignment was to work on our own signs over the weekend. As such, I started at the beginning, making sketches, taking measurements, and getting anything I needed prepared for my next day at university.
I knew I wanted to continue working with wood, but I needed it to be lightweight so it wouldn’t make the structure collapse. I found this easier, as I had experimented at the beginning of my animation and found the thinnest wood that still had a nice texture.
Once I knew what materials I needed, I focused entirely on what I wanted to project, engrave, or paint onto the sign. I considered painting various cave markings, but decided to stay consistent with my animation and began setting up my Illustrator file for the wood workshop.
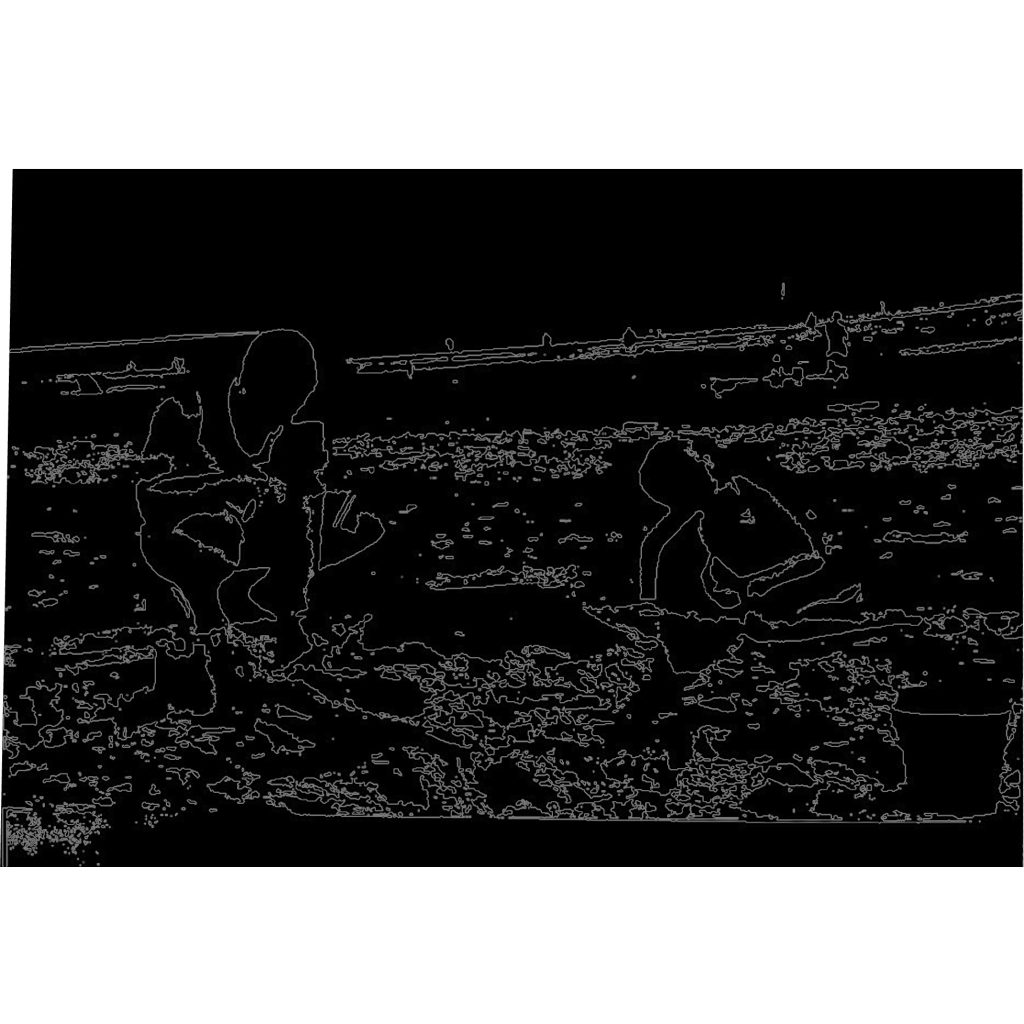
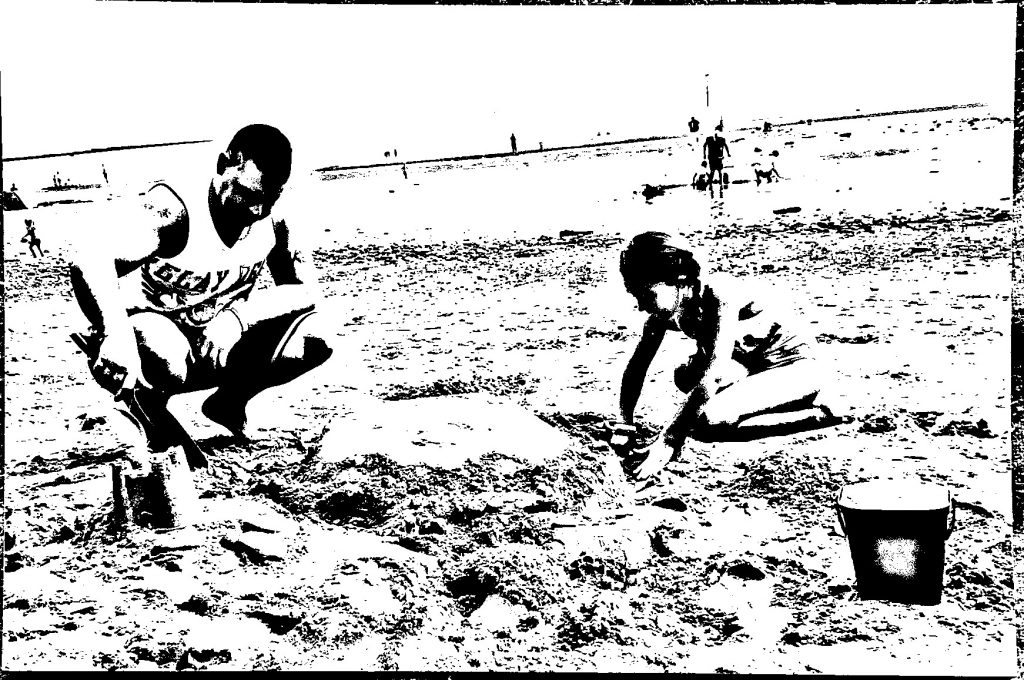
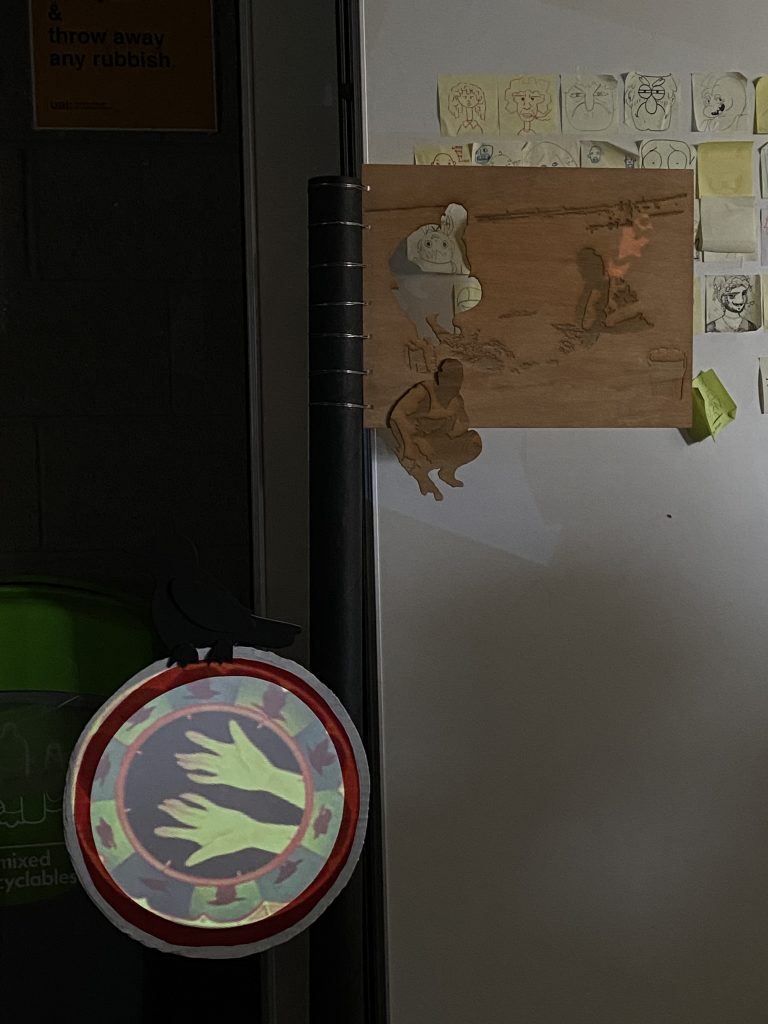
I took a short clip from my animation that had a nice composition and had some resemblance to the sea or water to keep on the edge of the art. After finding a photograph of my father and me at the beach, I began taking it apart and reassembling it.
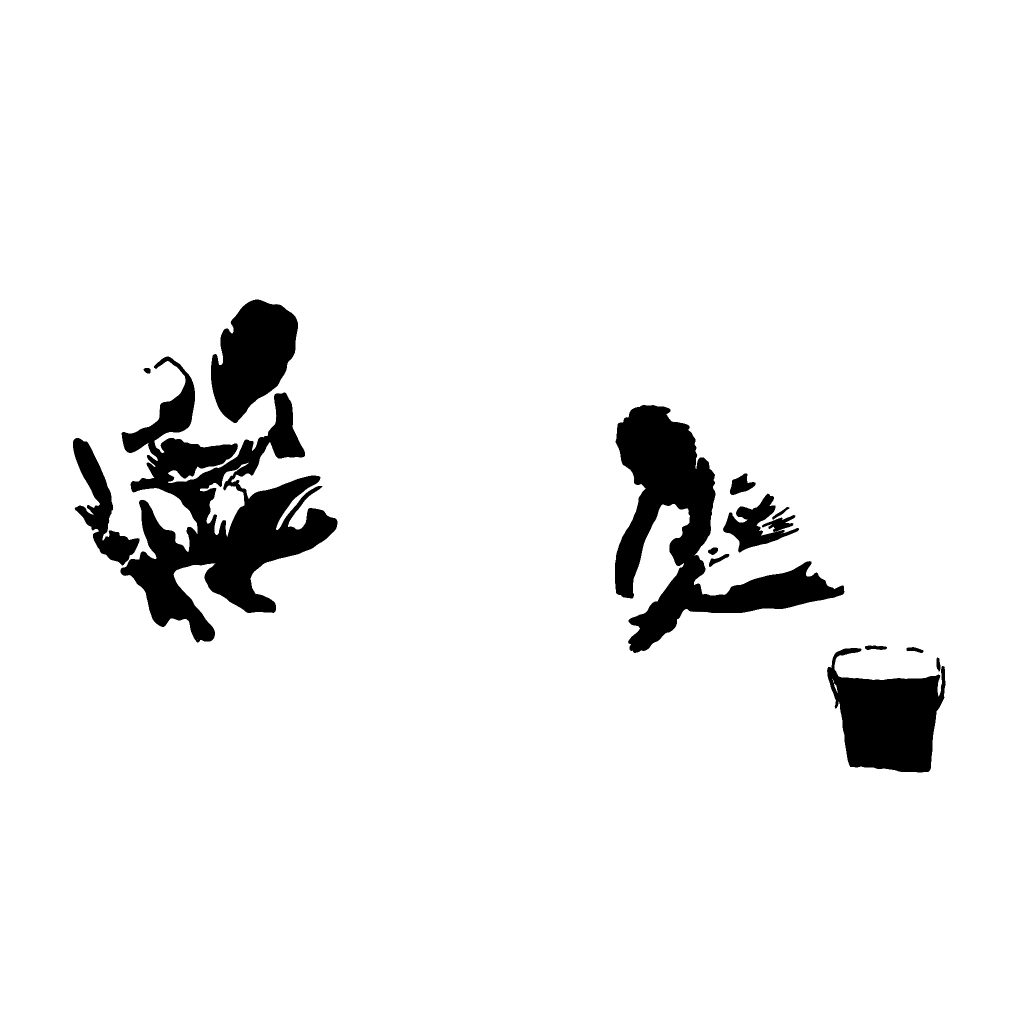
I did this by scanning the photo a few times and using Photoshop to assemble different sections. Then I turned it entirely black and white, as I could better sense the chaos of the lines. I knew what needed to be removed to make the image simpler for an audience and to communicate the necessary shapes to visualise two people playing at the beach.
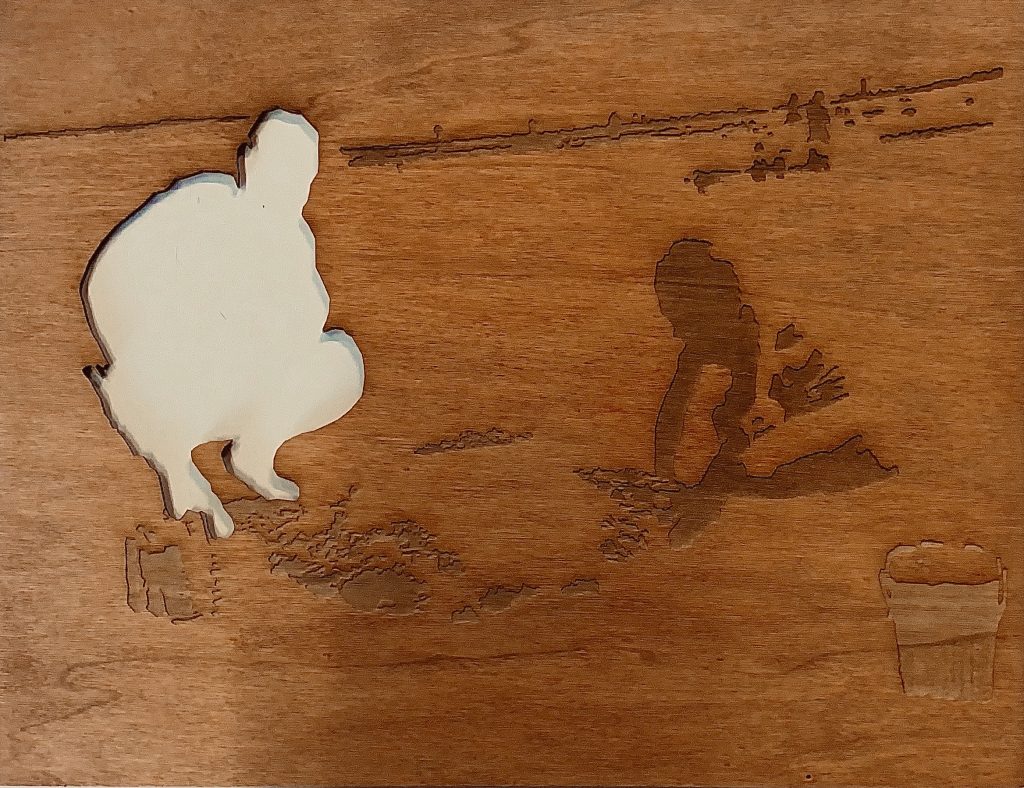
This image was then moved to Procreate, where I simplified it further and created bolder shapes before bringing it into Illustrator. I decided to make the lines around my father red so I could cut him from the board. I wanted to take from my original ideas and decided to have him hang from the board as though he had fallen.
I made sure to stain my wood and then sent my file to the laser cutter. After which, my board was complete; I just needed to hot-glue the cutout to the edge of the board and attach my sign to the traffic light.
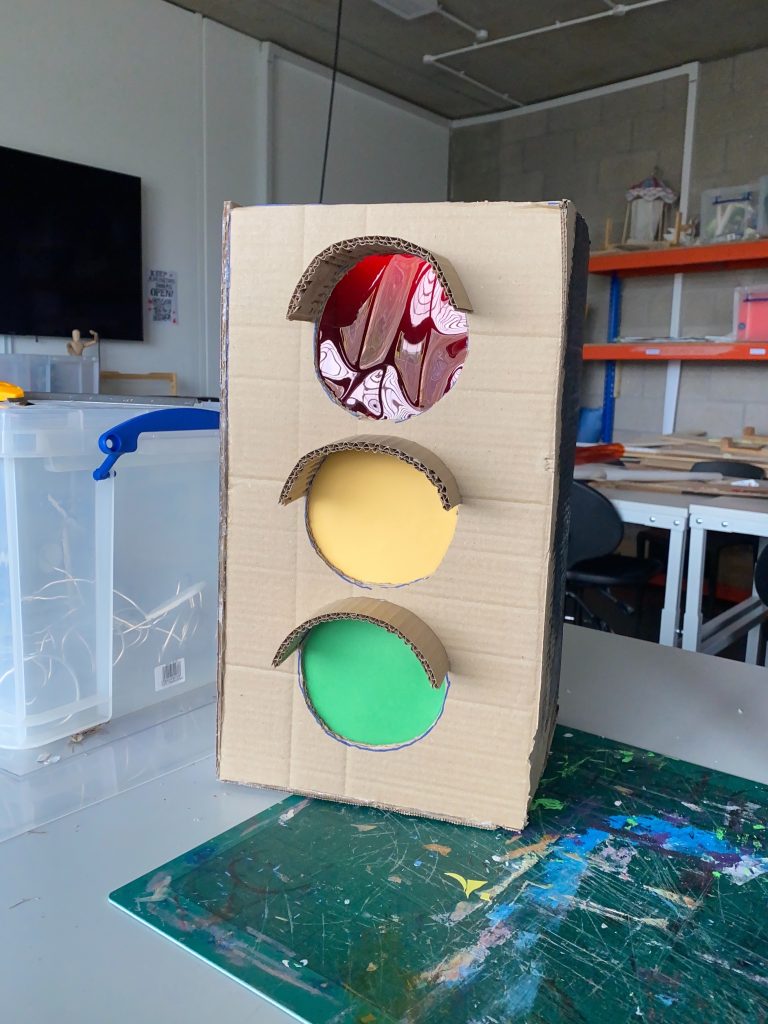
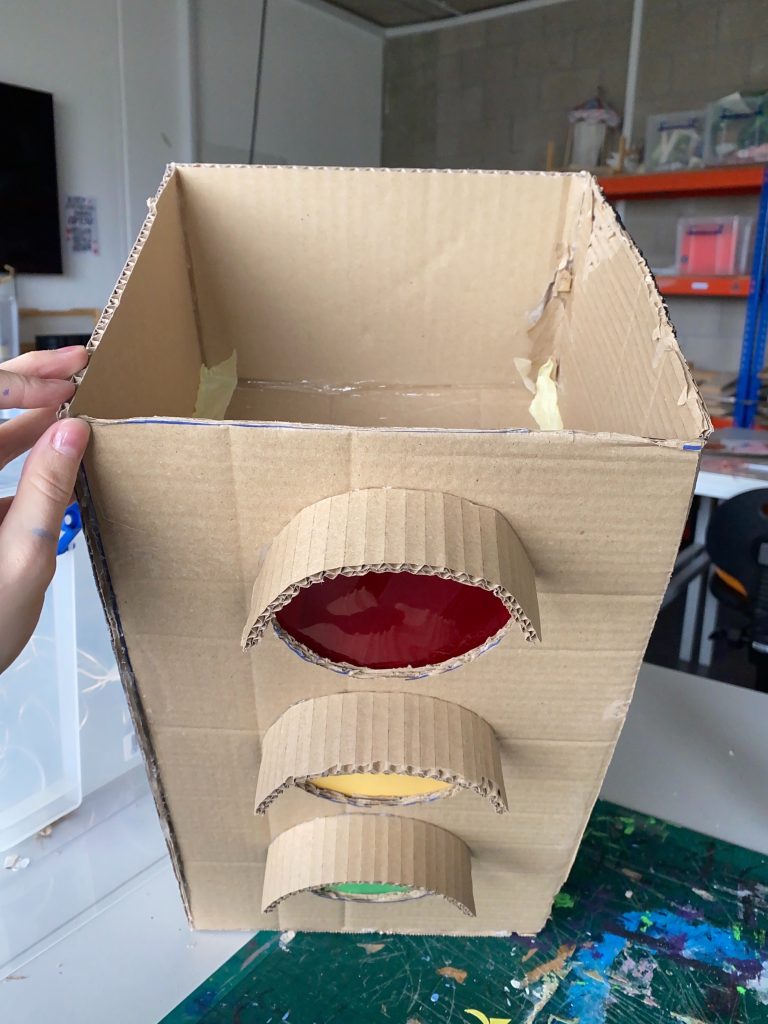
Once meeting back up with our group, I was tasked with completing the traffic light with Jay. We worked together to measure and cut cardboard pieces, then hot-glued them together to make the top of the traffic light, realising it could be interesting to have one of the lights shine. As a group, we decided to have the red light visible.
To ensure only the red light would be visible, I made the green and yellow lights from a non-reflective material, unlike the reflective red light. As an extra precaution and so the light could sit in the top, I added a cardboard piece below the red light.
I found this task very fun, and working as a team to problem-solve was interesting as we kept spinning off of one another to create something we all had an interest in. In the end, I was really proud of the traffic head and was excited to see the final product.
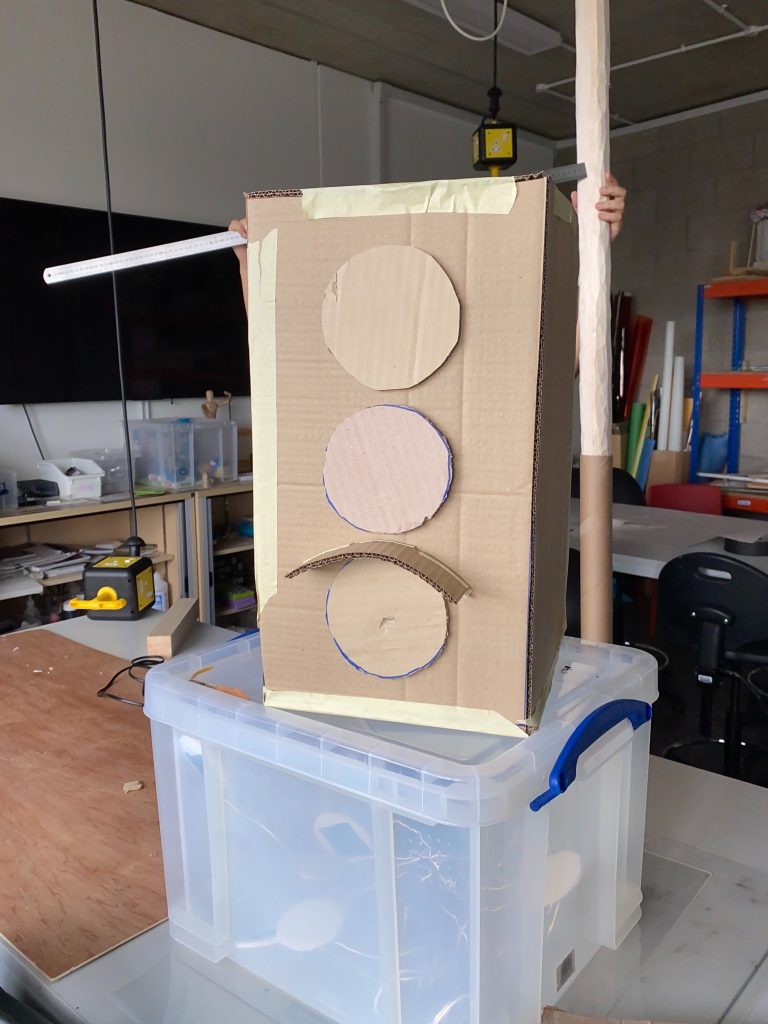
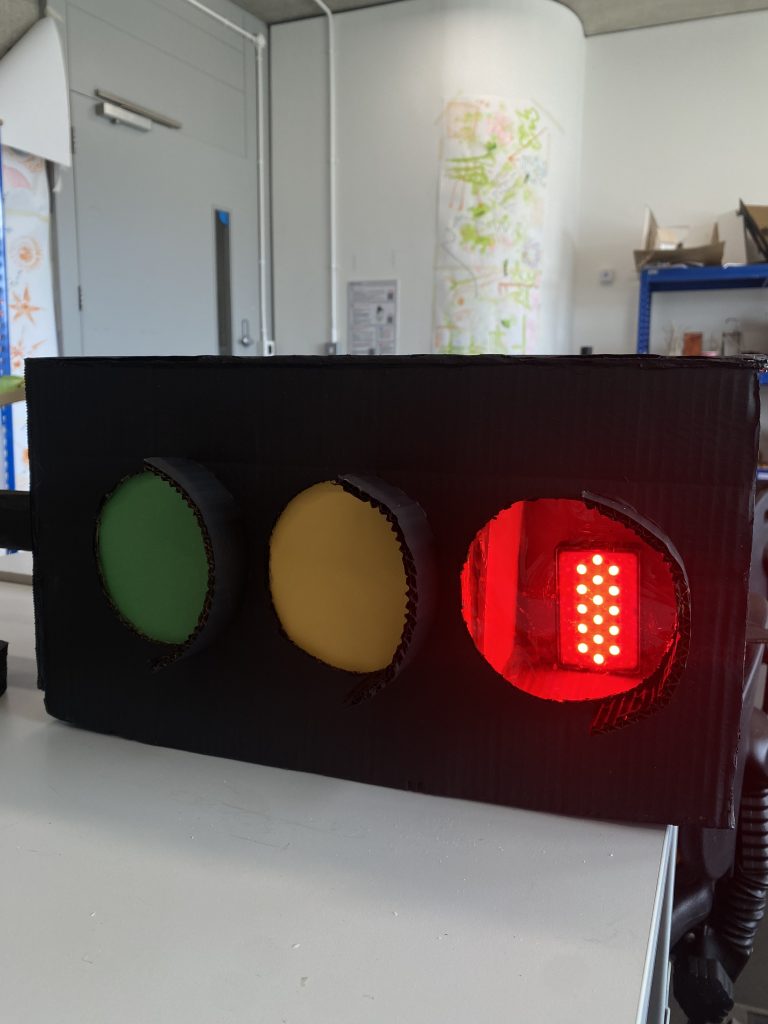
Sissi was tasked with creating the stand and painting it the following day.The next day, I began painting the structure black before we put the traffic light together, officially finishing our piece. However, we came across a problem: the structure desperately needed a stand.
I began problem-solving with Jay, and we found a scrap piece of wood that could serve as a stand if we could figure out how to attach the pole to it.
With the help of technician assistants and the wood workshop team, Jay and I built a wooden structure to support the pole and began attaching all our signs.
We then moved on to creating our TouchDesigner files and collecting all our assets in one place. As I was having issues communicating with the group, I decided to make a OneDrive with a folder in each person’s name to drop the assets in their own time. This went smoothly, smoothly, and individually I started learning TouchDesigner, going over Sunni’s workshop notes and researching on YouTube.
I spent a day playing with the software and a loaned projector. This made creating my TouchDesigner file extremely easy, and I shared some basic skills with the group that helped them connect their visuals to the projector.
After I had dragged my assets into my TouchDesigner file, I dragged it into our shared document to allow everyone to edit.
Regarding audio, Jay and I worked as a team to create a mix of nature sounds that complemented the street structure; it felt like a nice contrast. We found sounds on freesound and mixed them in After Effects.
Leave a Reply