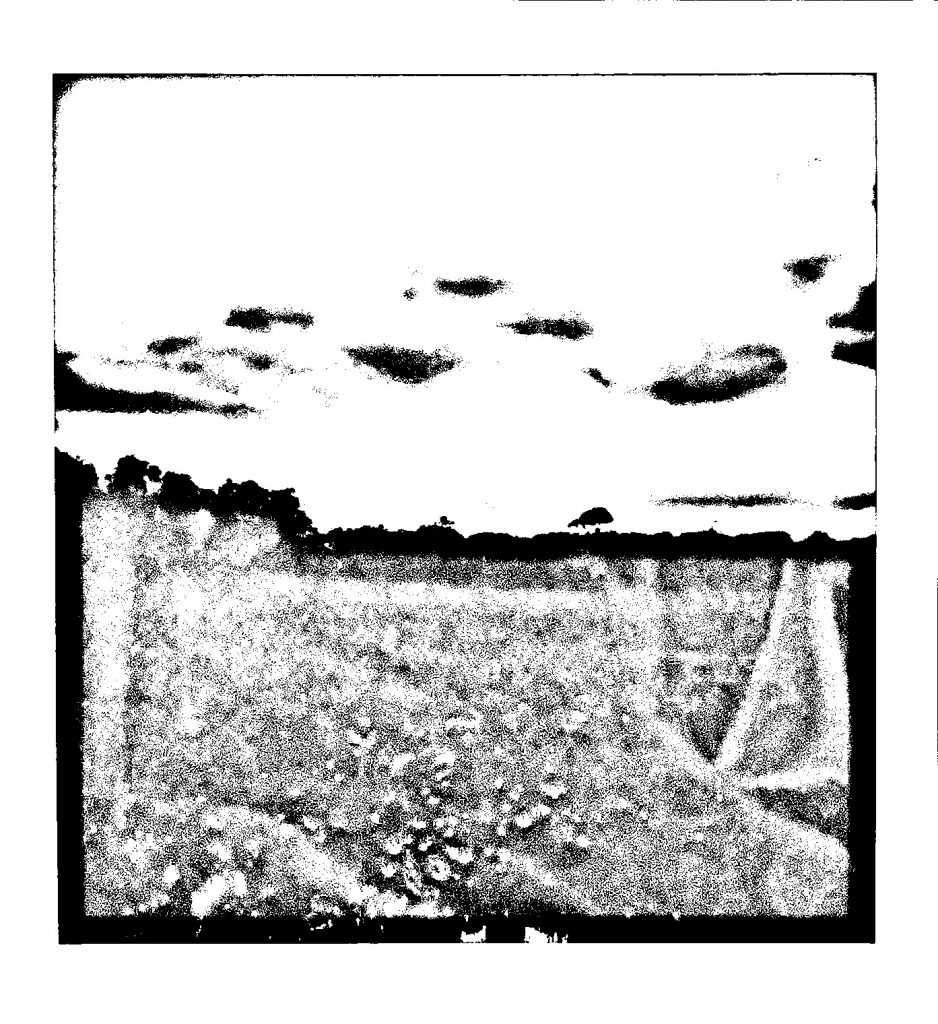
My first experiment was unexpected and meant to be for a personal project that drifted into my interest for the Tower of Babel. On a random night I was looking at the photographs of my late father and began to notice that because of how old the photos were when taken and printed, they have a fun sort of film/noise over them that I thought might develop nicely under my scanner. So I gathered every photo I have of him and some random nature polaroids I had and began scanning. To my surpise there were little moments captured of him fading into the background or feeling ‘lost’. This inspired me to create a piece on grief and the process of loosing something to the past.
I began to consider this concept in relation to the story of the Tower of Babel and how because the community was seperated by a diversity in language, they all lost something that once brought them together and had to relearn navigating a space that once felt comfortable. Grief works so similar in terms of seperating family’s and loved ones and even spaces that were once enjoyable.
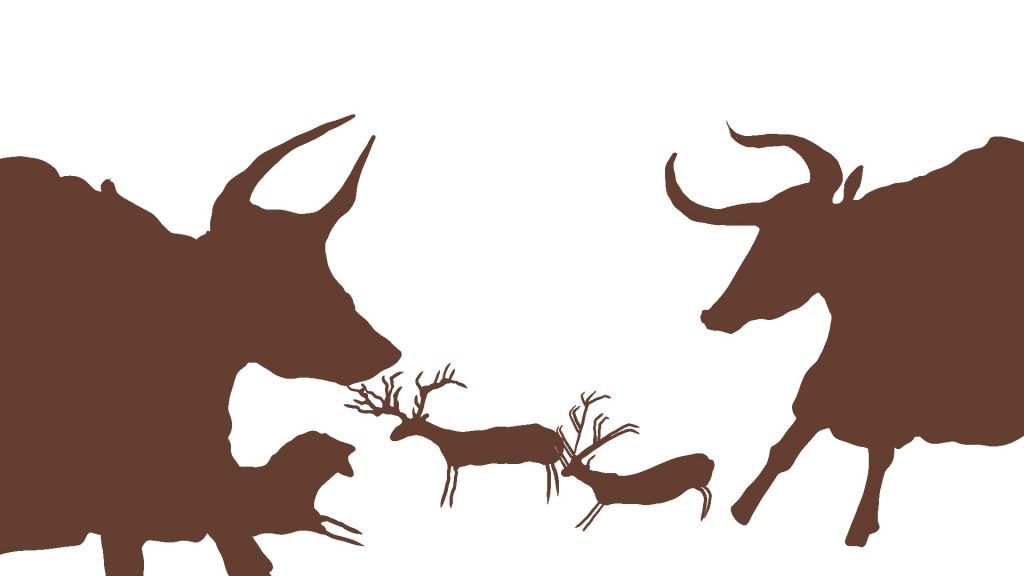
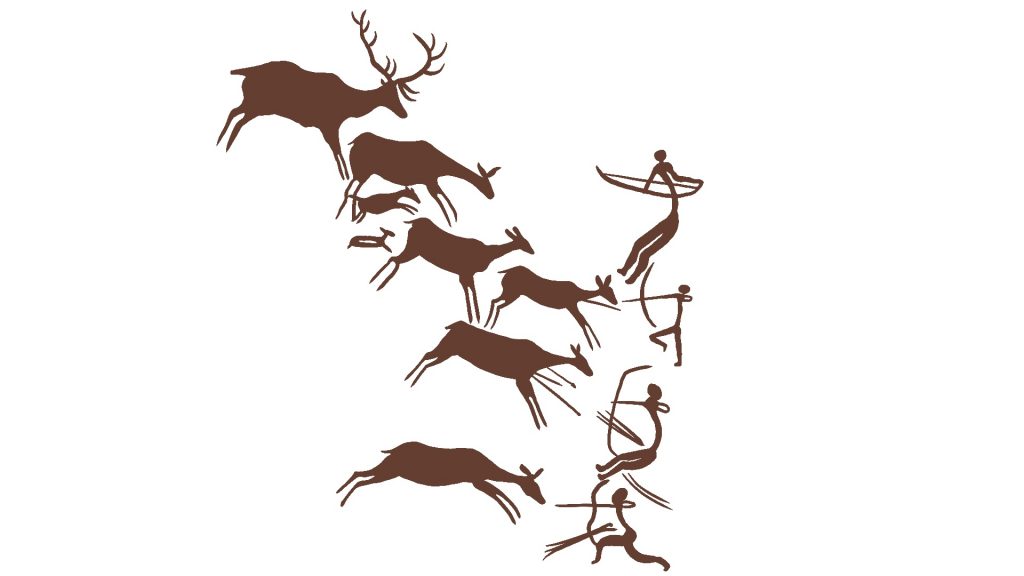
After I had an idea that I wanted to incorporate this feeling of grief and loosing valuables, I moved back to my inital idea of using cave paintings as inspiration, as in a way we all lost something by stopping and erasing this practice. As a community worldwide, we make small efforts to retrieve and keep safe the ancient cave paintings and stone carving and wood carving, a modern practice orginating from cave paintings and carvings, is unfortunately a dying practice. Thus, I began my research.
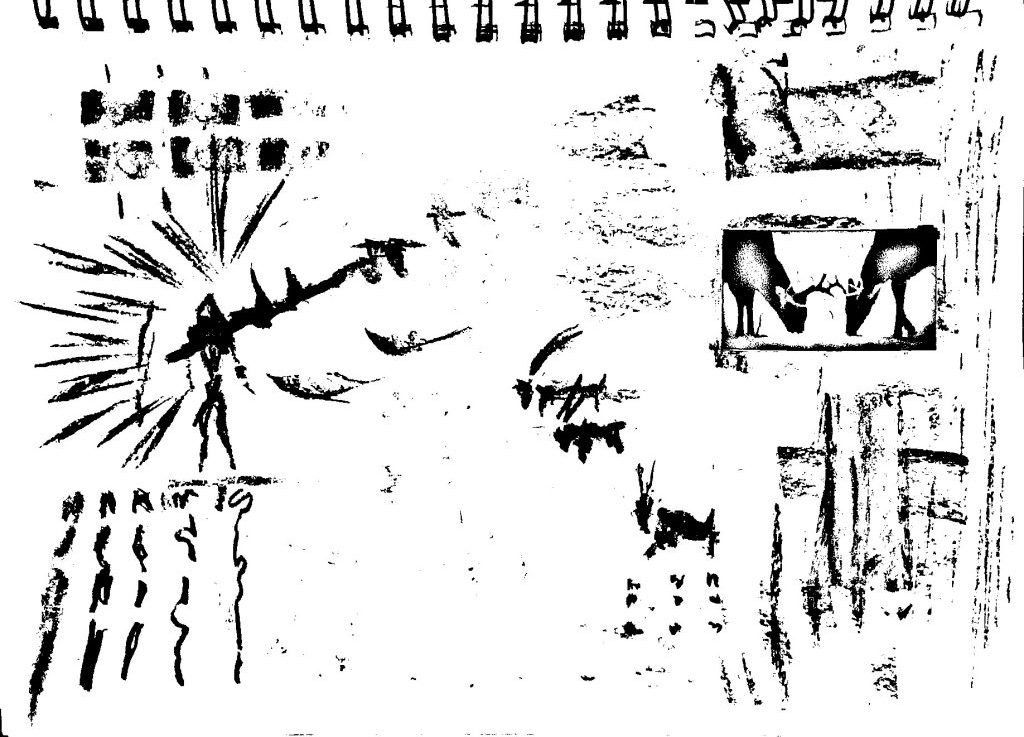
Whilst looking through my research books on cave paintings, I made small markings in my sketch book to reveal some fascinating shapes that jumped out at me, along with this I made some observational sketches that could be used later. From the earlier workshops, I realised how much I loved to work with charcoal and as such made the majority of my sketches using that medium, moving to a thin ink pen when I wanted to add small details that felt difficult using charcoal.
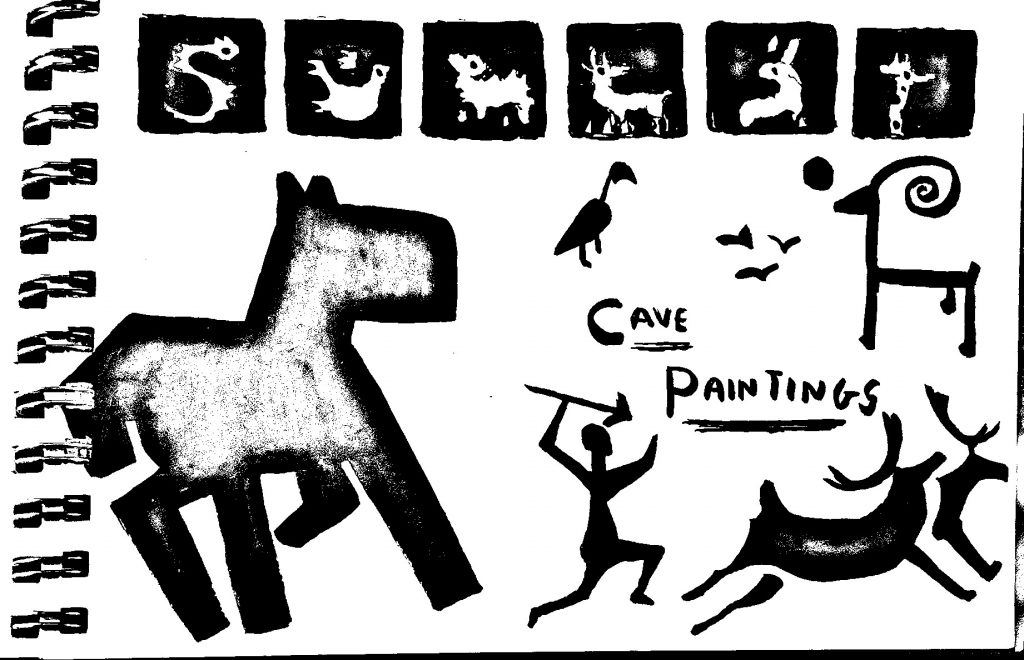
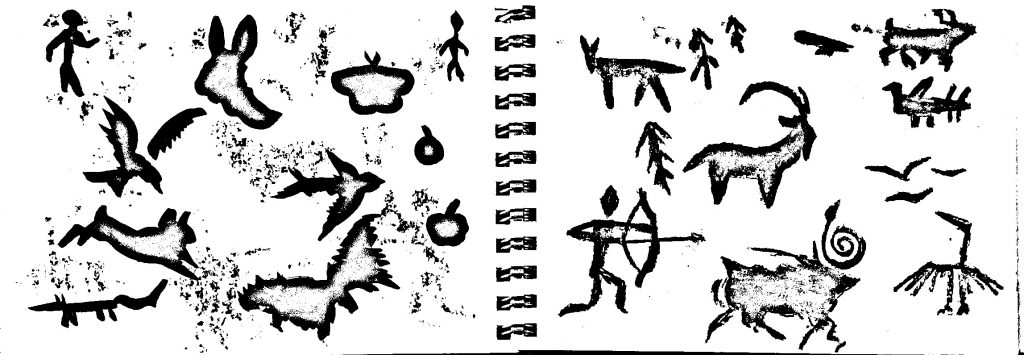
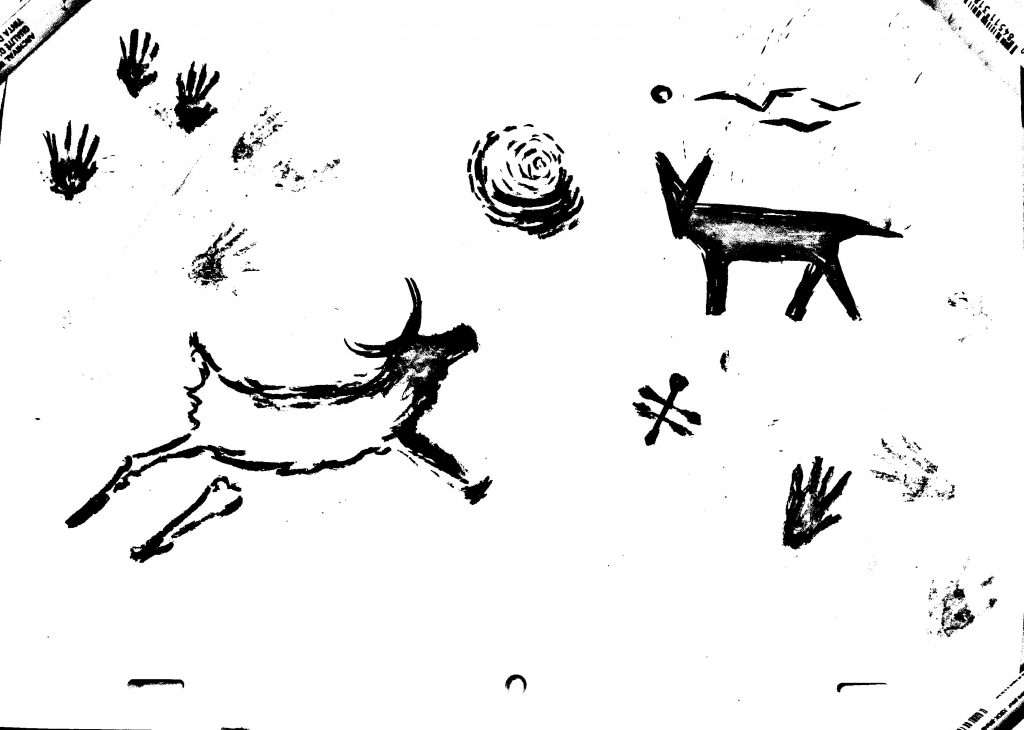
I had a lot of fun working to develop different symbols and trying to tell a story through nothing but shapes and charcoal. At this point I did not have any expectations on what to create or the pressure to make something that aligns with pre existing sketches/animations and that was extremely freeing. However, I was working with scanning images through a printer and abstracting them at the same time as making these bold shapes, I felt challenged to find a way to make them co-exist within animation.
Once I let go of this need to find a way to make them move, everything began to fall a little more into place and experimenting felt less exhausting when I reassured myself that eventually I would figure it out, but right now i’m just making.
I searched for animals on an online archive of old videotography that’s open to public domain and downloaded these in the aim of printing out each frame. Small sections of each frame were cut out and glued onto their own piece of paper. I then began drawing small sketches of different shapes and symbols with charocal on the remaining background. I then conducted a very small test by taking each frame and putting them back in order. In the end I did not favour the outcome but I learnt how to split videotography into individual frames and realised that whilst I enjoyed using charcoal, I wanted to experiment on wood or stone as those pratices as still current in the modern age.
Once exploring my options on whether to use wood and stone as my medium to engrave into, I realised it was a lot more accessible financially to use wood as within the UAL building, there’s a wood workshop with all the tools that were necessary and spare pieces to work with.
Once I knew my medium, I discussed my idea with a technition in the wood workshop and I was told that with my idea to engrave symbols and shapres, the lazer cutter would be quicker and more concise but I would need to get files with my designs prepared.
I first sketched digitally some of the pieces I had in my sketchbook, trying to arrange the markings in specific ways to tell a story of some sort. I found this extremely challenging as it did not resinate any emotions within me and I lost excitement very early on. They did not seem to translate anything to me other than shapes that felt inpersonal.
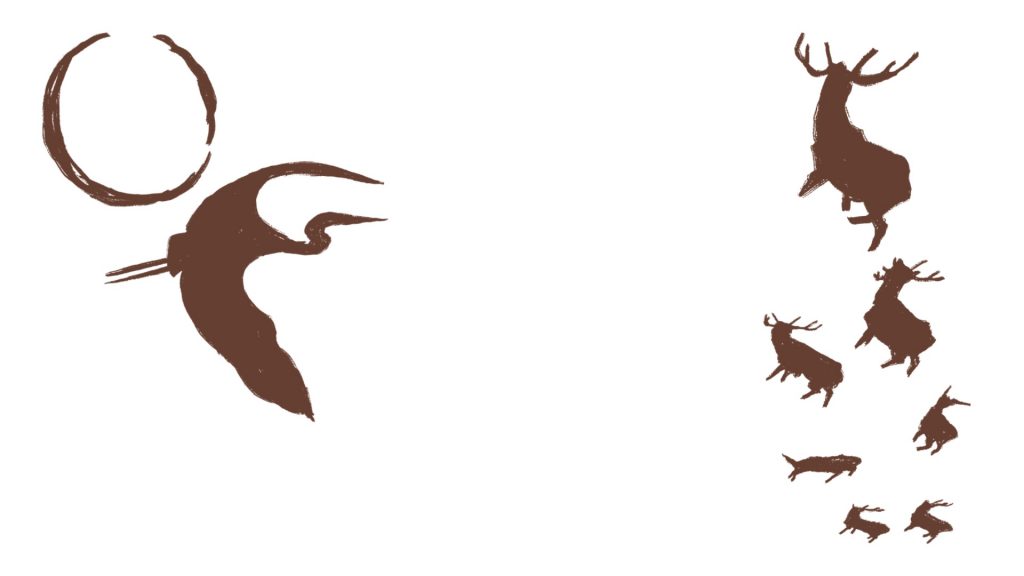
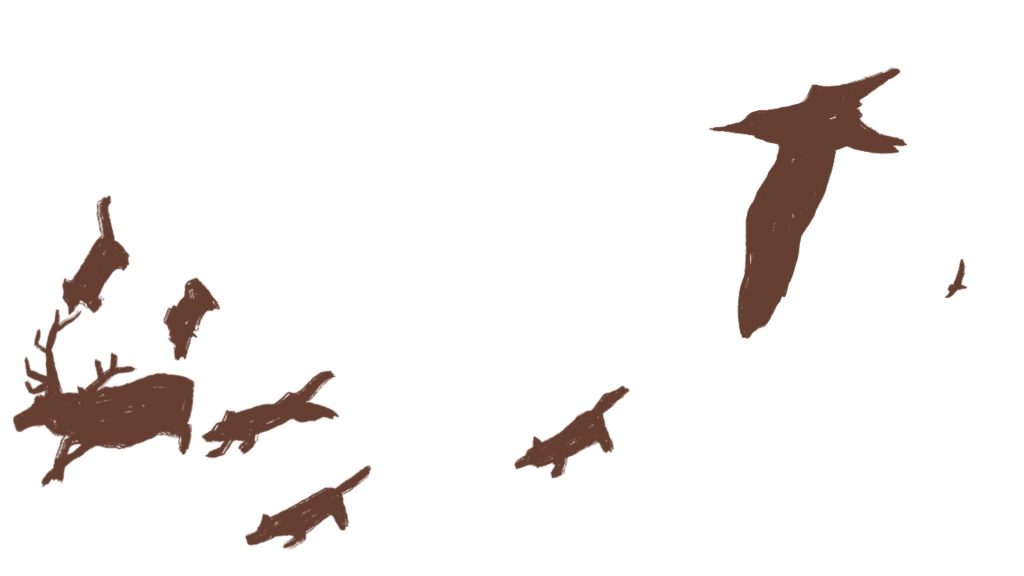
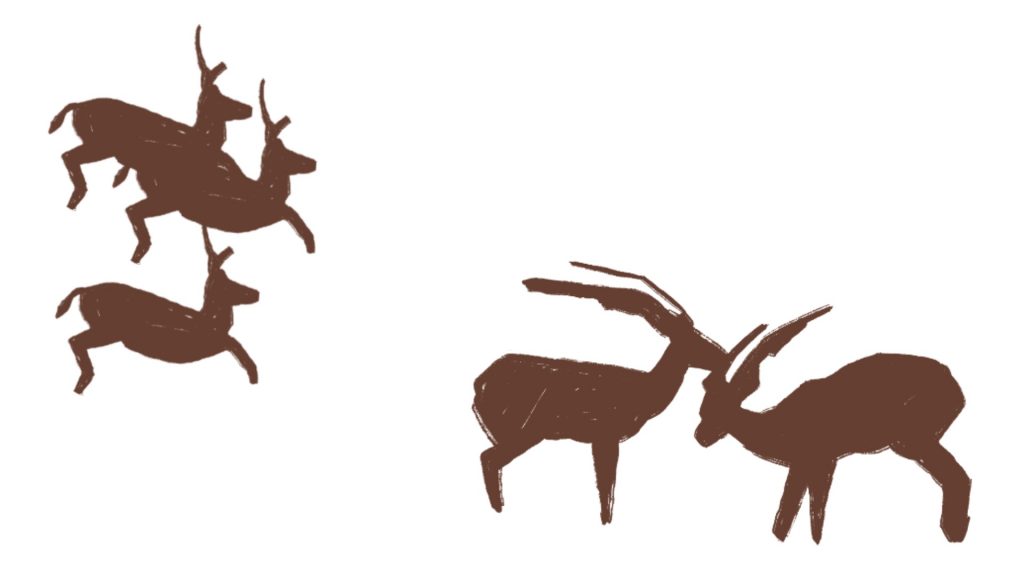
At the end I felt I wanted to personalise these futher by researching a number of wildlife photographers and found an Alaskan photographer called Brian Adams. His journey with photography involves him trying to reconnect with his innuit culture by recording moments with his camera in Alaska and Canada. His pieces are deeply engaging and involve a number of natural envionments and people within his community. After looking into both his series called ‘I AM ALASKAN’ and ‘I AM INUIT’, I began to find shapes and symbols that were almost hypnotic, finding his work to be so emotive and transparent towards the life of Inuit poeples. As I took inspiration from his photography in regards to shapes, I felt it was important to make the backgrounds of my animation reflect the environment in both Alaska and Arctic Canada.
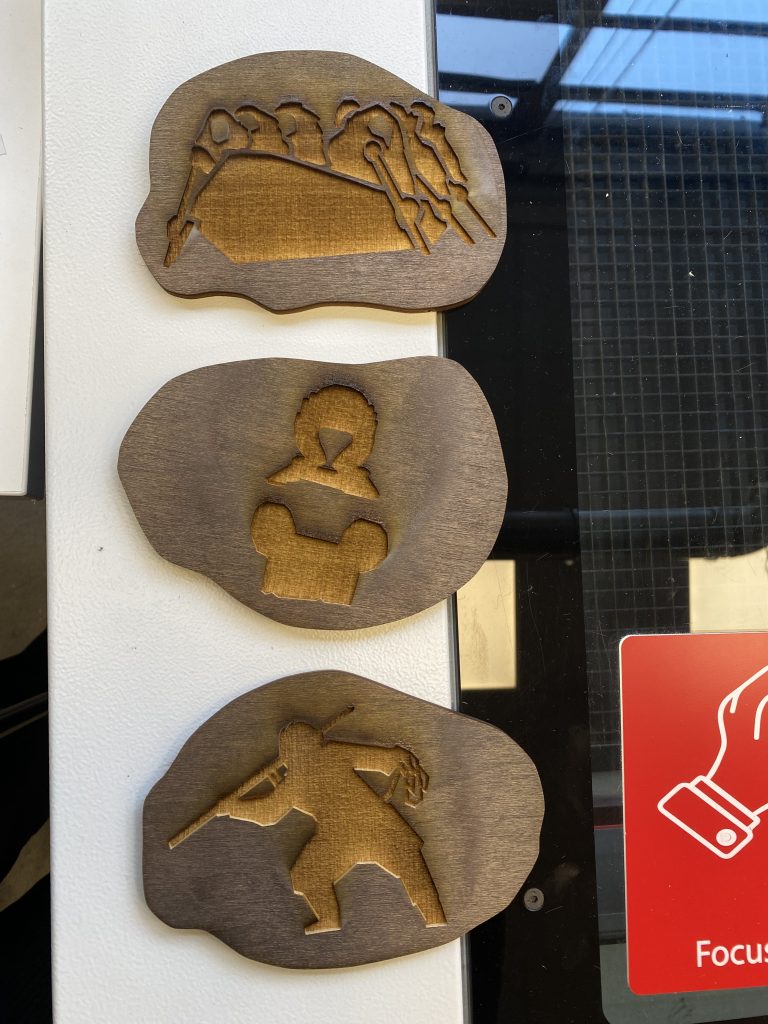
The small drawings that came from these photographs were fascinating and fun to create. I gave them a warm colour to appear less harsh and more inviting and whilst I did not make each drawing have sharp edges (easier to hand-carve) I did keep each marking simplistic as are found in caves. I did not want to move too far away from my inital idea of remaking cave paintings in my own way, and thus I stuck to simplistic shapes. I researched and observed animals in the wild, watched a number of nature documentaries to draw from and took inspiration from Brian Adams by simplifying his photography into simplistic shapes, in order to inform my illustrations.
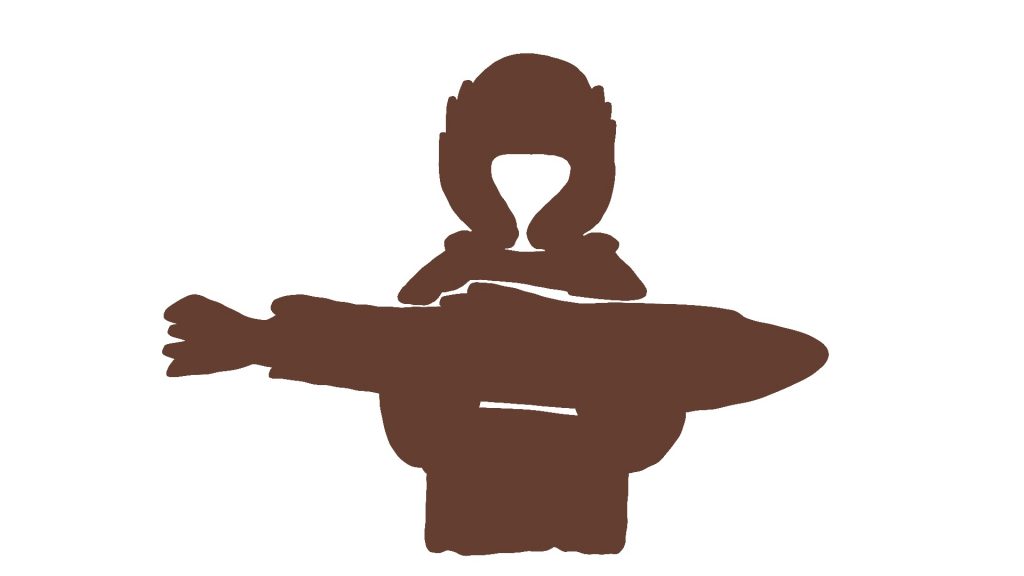
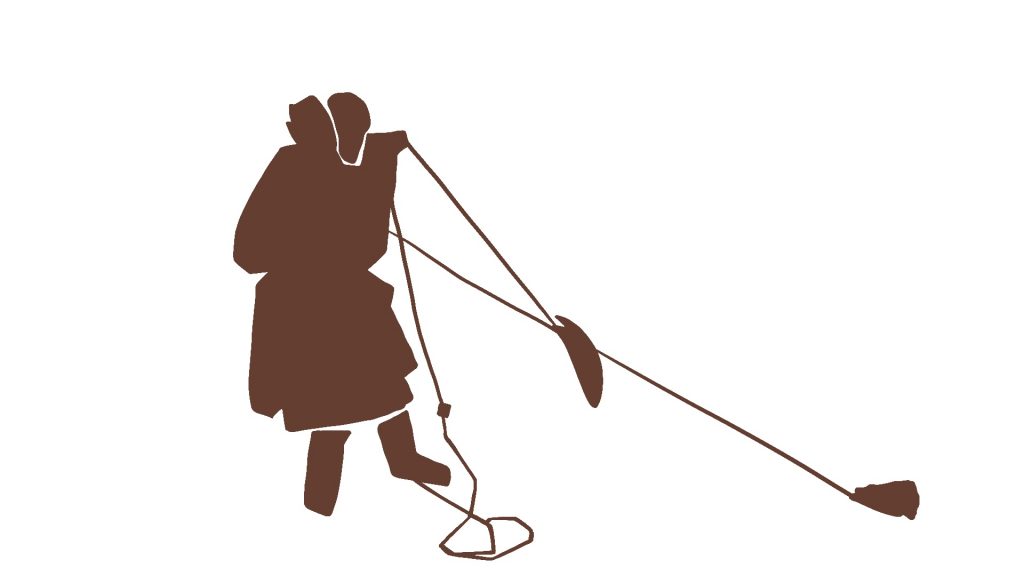
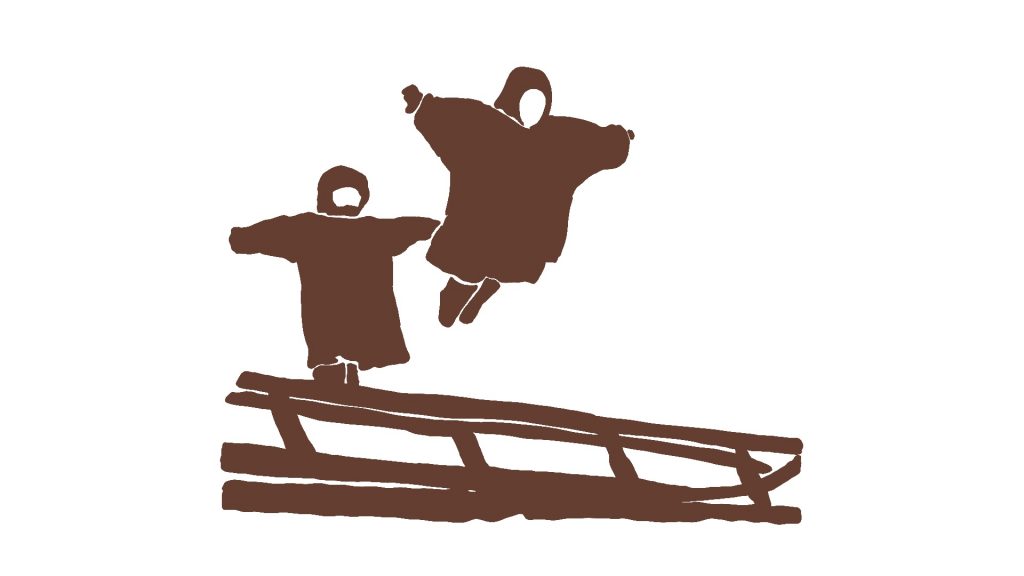
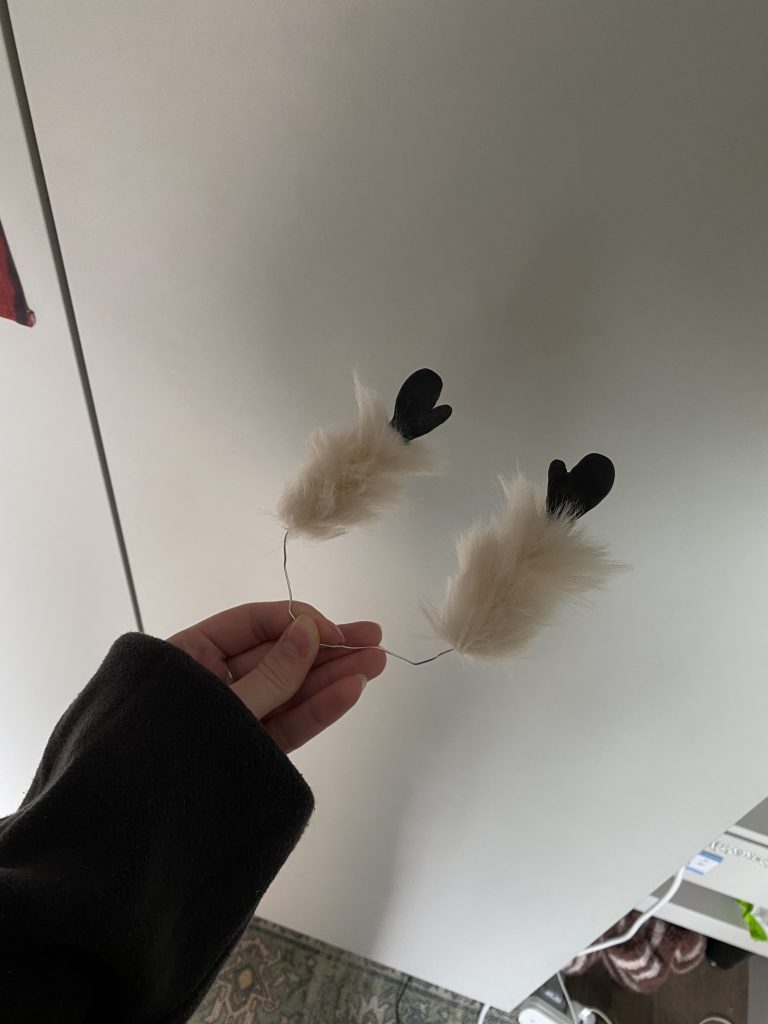
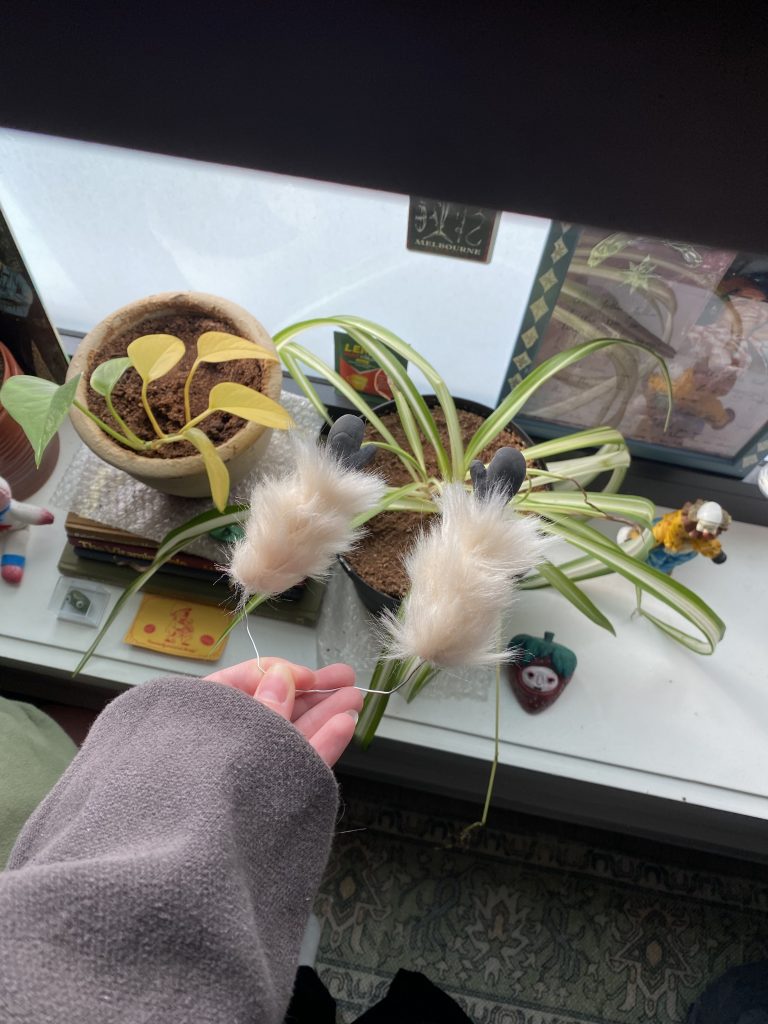
After creating these beautiful stills, I was tasked with the challenge of making them move to make an animation, so I went back to my inital research on cave paintings. Through re-examining my notes, I thought about how interesting it might be to create a scene where there is a little fluffy creature making their own cave paintings/carvings as a form of entertainment. As I wanted to make the background enviornment cold to reflect Adams photography locations, adding the fluffy component to my character felt essential.
As the hands and arms were the only thing the camera would catch, I began making a wire armature for the arms, twisting the wire tightly in the centre so that I could easily maniplulate the wire when filming the stop-motion.
Once the armature was complete, I began to cut strips of fluffy fabric and hot glue them in sections, working from the top to the bottom to layer the fur. This prooved to be extremely simple. Once this was complete, I began making two hands identical with one another using black putty clay. Molding them was not hard as they were simplistic shapes but the clay then hardened and was impossible to manipulate without breaking. As such, I cut the hands off the wire armature and began to mould oven baked clay onto the wire revealing two pink hands that were much easier to move. Whilst I came across different challanges, I found it was easy to problem solve as I have a lot of clay/moulding tools in my room.

Once I had my little puppet hands, I went back to the digital world and began to make a very quick animatic on procreate to get a better layout/plan for my story. At the moment it was all in my head and I wanted to make something I could go back to during the creating process. To my suprise, the animatic was easy and quick to create, I knew exactly what I wanted to do and was now able to communicate this to the wood workshop team and my tutors, making it so much easier to get advice and tips on the storyline, mediums wanting to be used and time I had available.
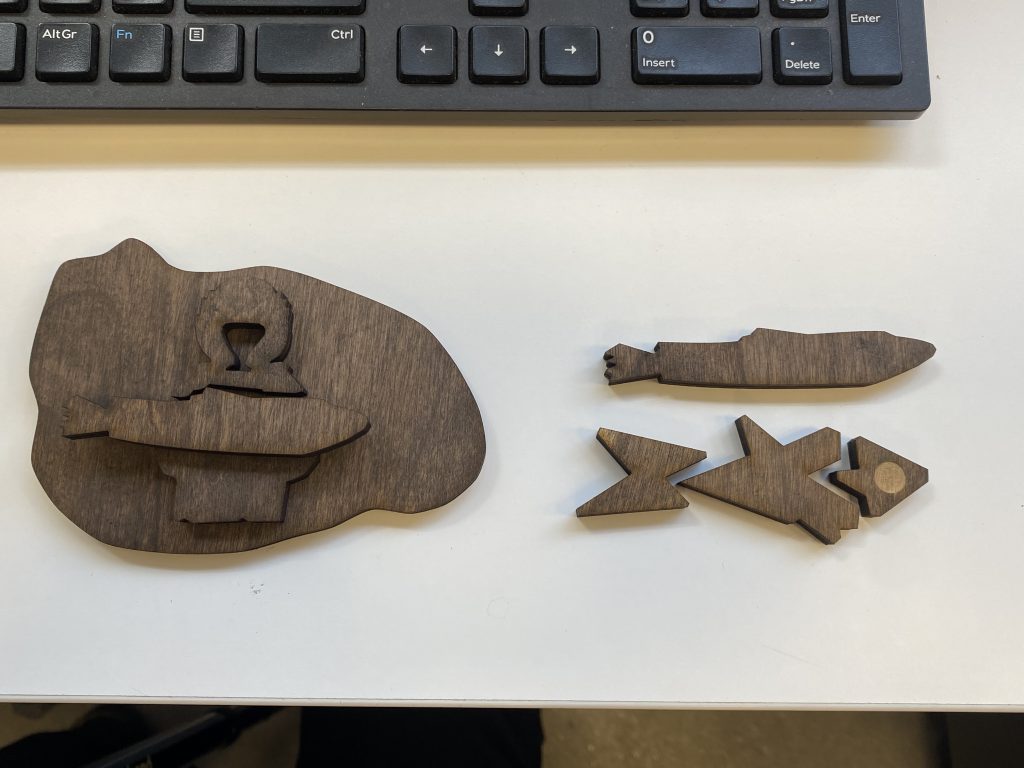
Through researching different carving methods, I agreed with the technicians to use the lazer cutter for a precise illustration and to aid in making carving accessible for me during a symptom flare up.
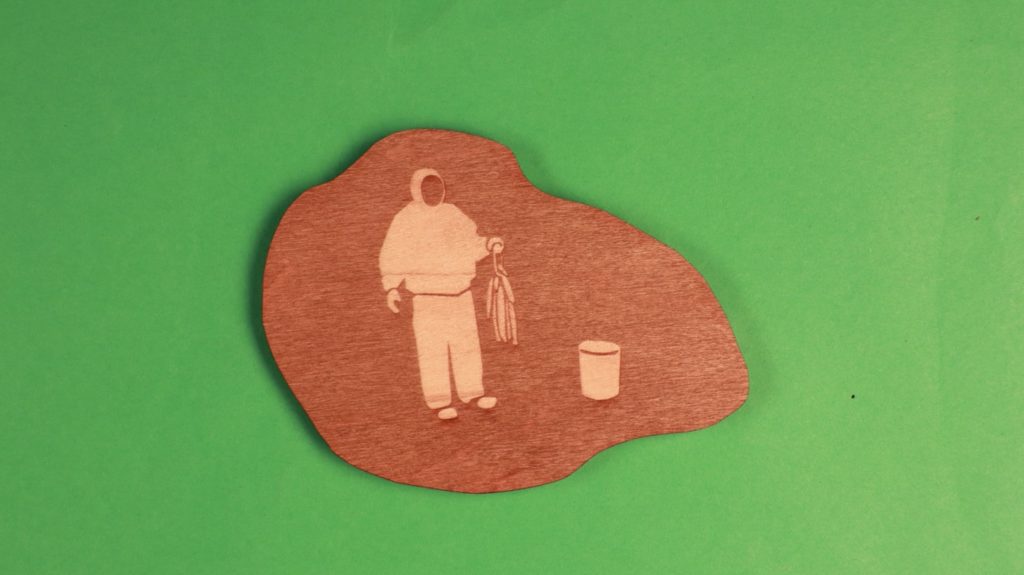
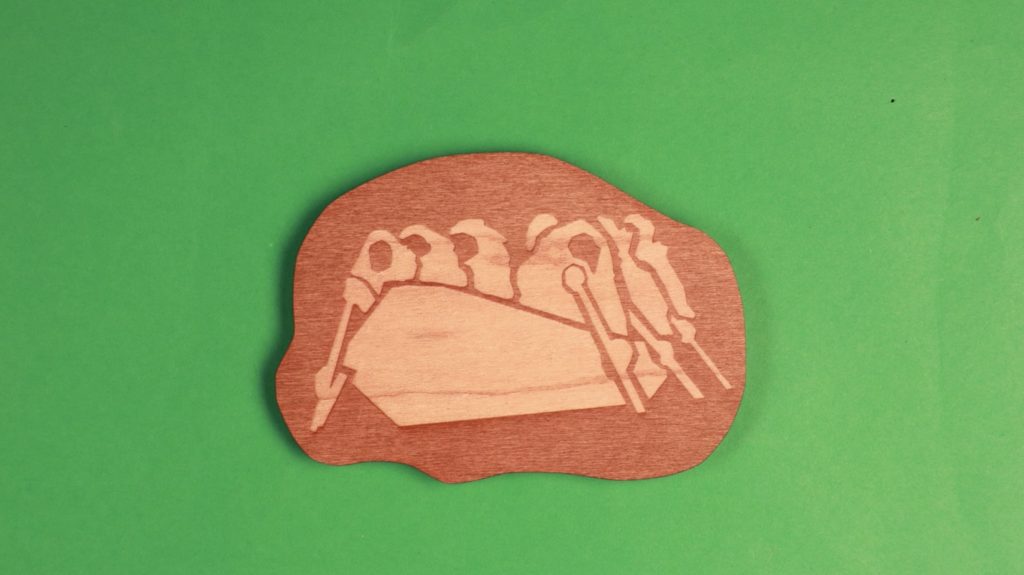
I was instructed to create an adobe illustration file for each of my designs for the lazer cutter to read. This was a simple process of measuring both the size of my props and the wooden piece and making sure each line was either cut (black) or carve (red) through colour recognition.
I then began to experiment with different wood stains, noticing that the results where different depending on how dark the stain was. I enjoyed playing with spare pieces that were available as I had so much freedom to explore different textures and wood types. I decided to use spare pieces due to environmental concerns but honestly the results were better than when I was forced to buy a wood plank that was big enough for each prop. Unfortunately there wasnt any spare pieces for days and i was worried about time running out.
Leave a Reply