EXPERIMENTS
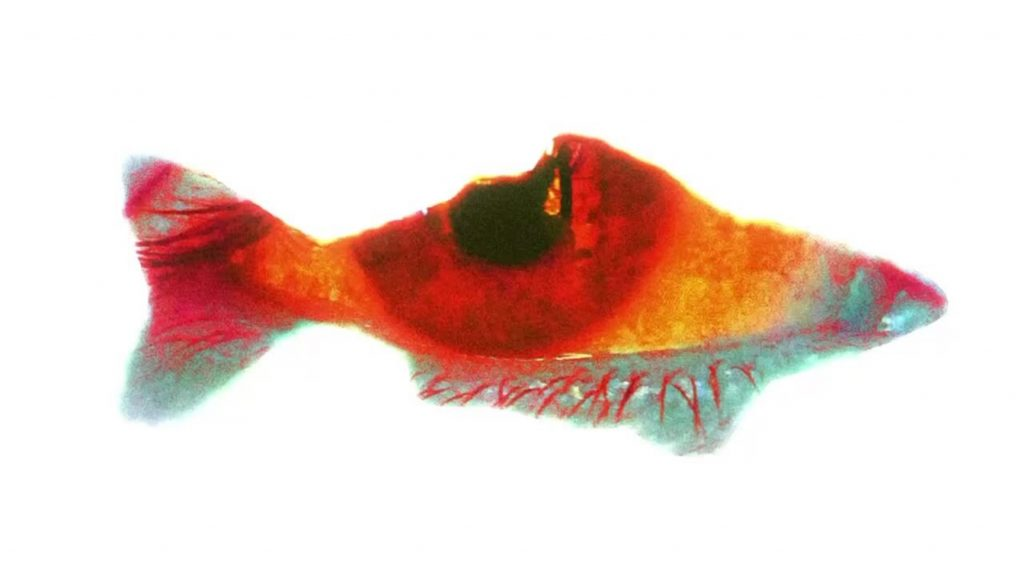
My first experiment came to me spontaneously, I was speaking to my teammate, when I noticed his eye resonated with the shape of a fish. I had an idea to use a printer app to scan three pictures of his eye, edit them into the background of a paper cut out fish and work with different bright colours to draw attention.
So I began, I took the photos which was extremely easy and then began editing in aftereffects. I chose the primary colours to work with and played with the different editing tools available to me. Navigating a new software was not easy but after many tutorials on YouTube and guidance by my tutor, I felt less fearful of it and instead excited to mess around, seeing what worked and what did not fit work with what I had in mind.
My teammate had cut out a paper fish previously and so I utilised this, as thinking about the environment and ways to make our project sustainable was a top priority. I scanned the paper cut out and layered it on top of my edited pictures of the eyes.
As I had three images, I was able to make a boil animation. This was a simple task of laying the three images on top of each other in premier pro and duplicating this sequence. As a second experiment with the same materials, I moved the fish in procreate dreams, making it wiggle. As the images were square shaped, the outcome was not what I had envisioned but I believe that if I was completing this experiment again, I would cut the images out using procreate and see if that made any difference.
However, that wasn’t my aim. My aim was to experiment in a playful way without thinking too much about the outcome and focusing primarily on the process and I did that successfully. I had so much fun and it was so freeing not to be pinned down by a plan. Maybe the outcome was not as I had expected but it was different, something that could not have been created any other way.
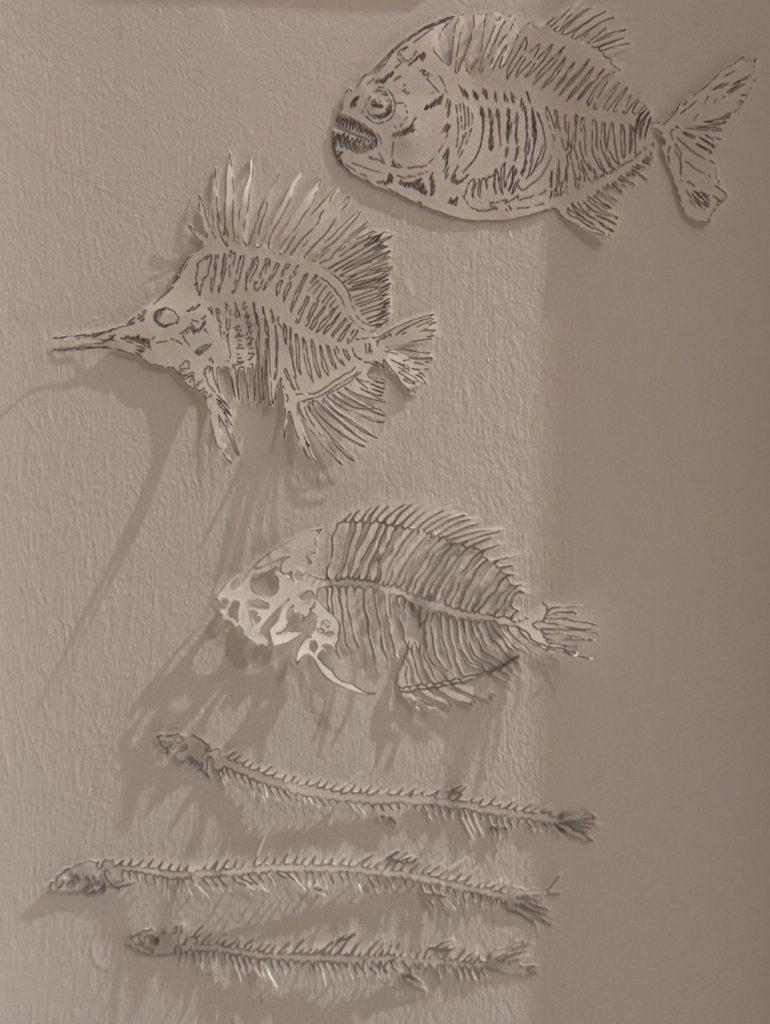
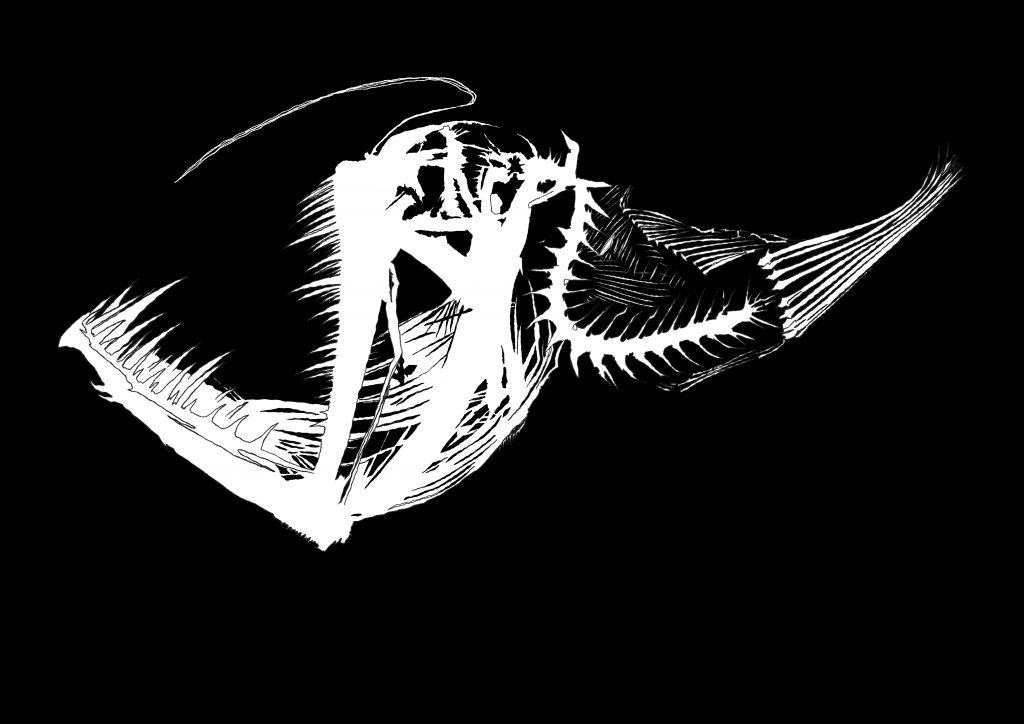
Since the beginning of this project, I have been fascinated by paper models and bringing these to life through stop-motion animation. So I took from my initial sketches and decided to make skeleton fish using paper and a stencil knife. I knew it would be time consuming to cut out and with all the tiny details, I would have to be extremely careful to keep the model in one piece but I knew it would be interesting to manipulate and so I tried it. I was right in believing it would be challenging to keep the tiny pieces attached but even when I made a ‘mistake’, it turned out to look better than previously.
I owe a lot of this calming mindset to the process of creating in this experiment. As I did not plan, nothing could go wrong. I had tools and materials I wanted to use but no expectations on the outcome and so everything went smoothly.
I found that it was a lot less time consuming to create an experiment and decreased a lot of stressful factors that, in other projects, I previously came across.
I really enjoyed the outcome, so much that the models hang on my wall. The only downside to not having any expectations, is that I was unable to communicate what it will look like to my teammate. However, it worked really well because a lot of their experiments followed a similar process, so there was a level of understanding.
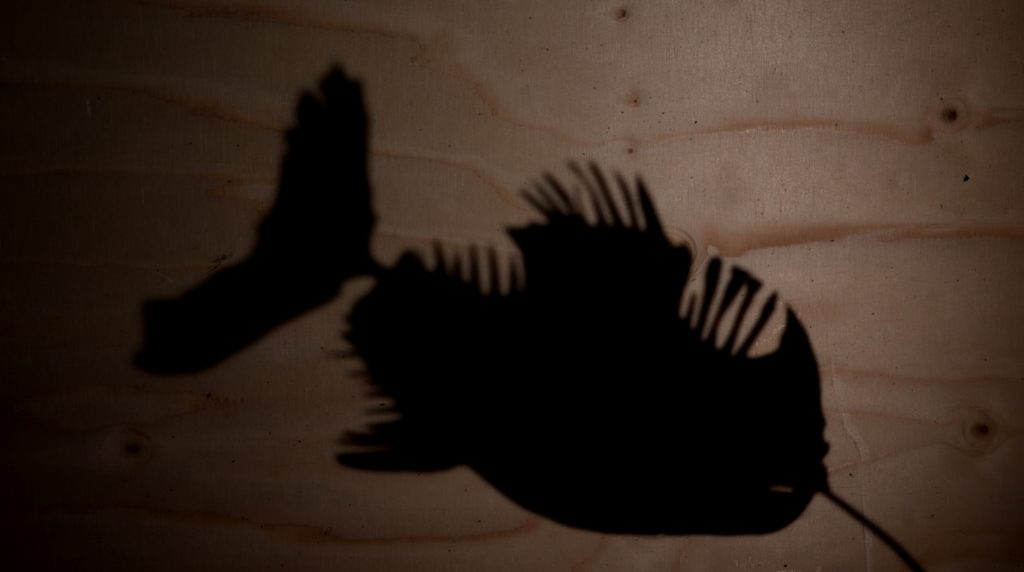
After a meeting with our tutor, we both got given advice on how to move forward without experiments. From this, I was advised to play with the cut outs and their shadows, so I moved to the stop-motion room and propped up a wooden slab to add texture to my background.
I wanted to play with a range of angles and movements and so I hot glued the paper fish to a metal rod. I first moved the fish with my hand but found my hand kept getting in the way of the shot. As an alternative, I bent the metal rod around my belt and adjusted it to make the fish move.
Once watching the frames over, I noticed that sometimes I had taken a little step back or stood on a slight angle and so the fish looked out of place. It was extremely challenging to keep the fish in the frame and keep it steady. Whilst I did not like the overall outcome, I liked the outline of the fish and how detailed the shadow appeared. I knew that if I used the right tools to better steady the model, I could produce a similar aesthetic but a little more readable to my audience.
I learnt a lot through this experiment, such as how to navigate the dragon frame software after being away from it all summer. I also learnt some new skills with lighting and setting up the camera. It was fun not only to experiment with a model I favoured, nut to explore the technical side of creating a stop-motion animation in more detail.
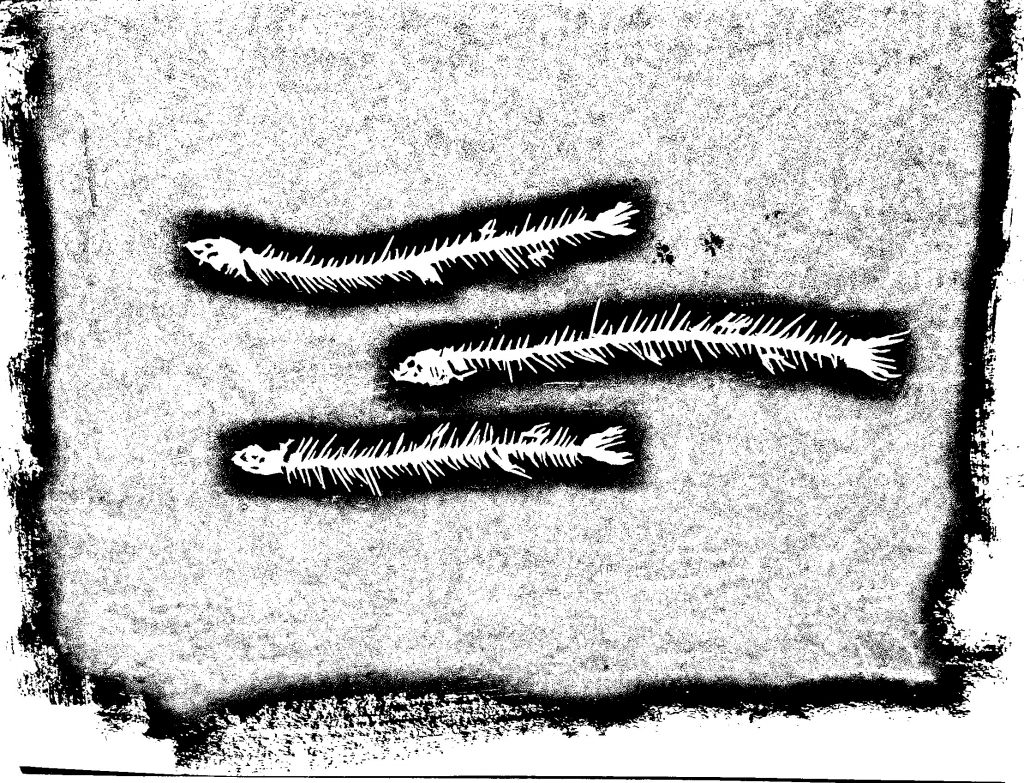
After my teammate created the animatic for our project, we partitioned each element to divide the workload. Taking inspiration from my previous experiments, I began to cut out more skeleton fish. However, I wanted to animate them in the stop-motion studio. The process was similar, but I wanted to cut out more intricate pieces so that I could pick up their shadows.
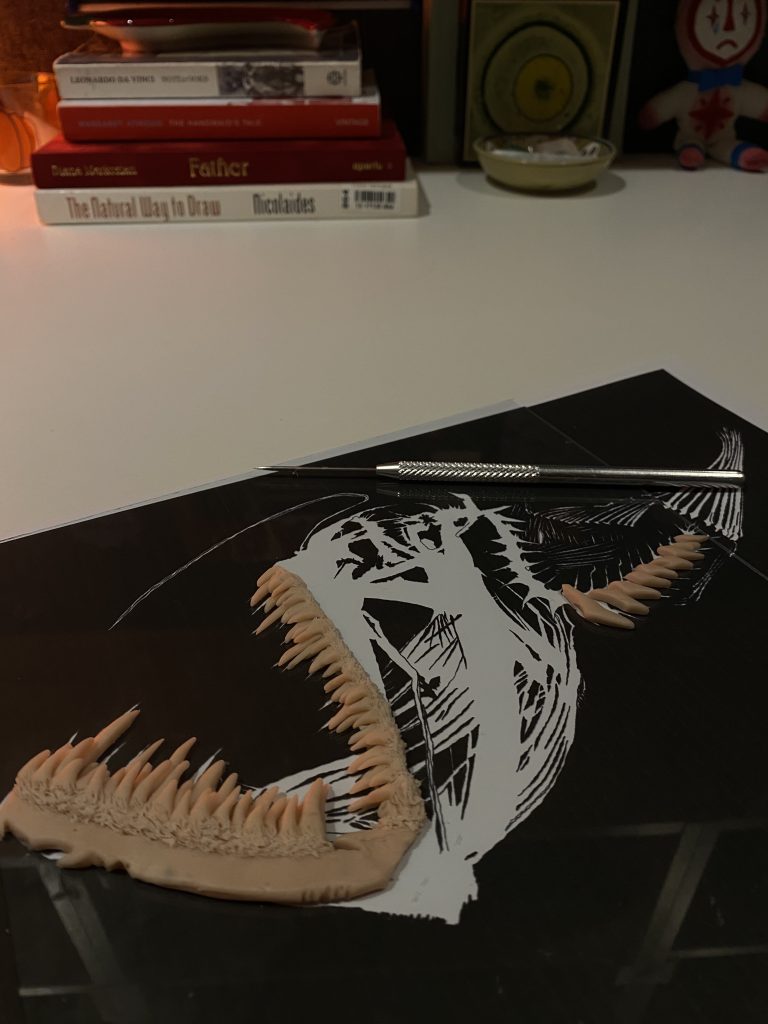
My next assignment was to complete the angular fish, but I wanted to understand the anatomy and research the sea animal before creating. So, me and my teammate went to the natural history museum and took inspiration from the variety of skeletons on display. It was interesting to look at the abstract shapes and different textures that each animal had, and so I began sketching on procreate.
The sketch was created in 2D and drew on multiple different animals I had observed at the museum. Once I was happy with the outline, I printed it out on A4, placed glass over the piece and began to sculpt the fish in clay. This was a delicate and time-consuming task, focusing on layering the clay, engraving texture and making sure the shapes were accurate. But I found all of this to be exciting and oddly therapeutic because I could watch the shadows form from the raised clay.
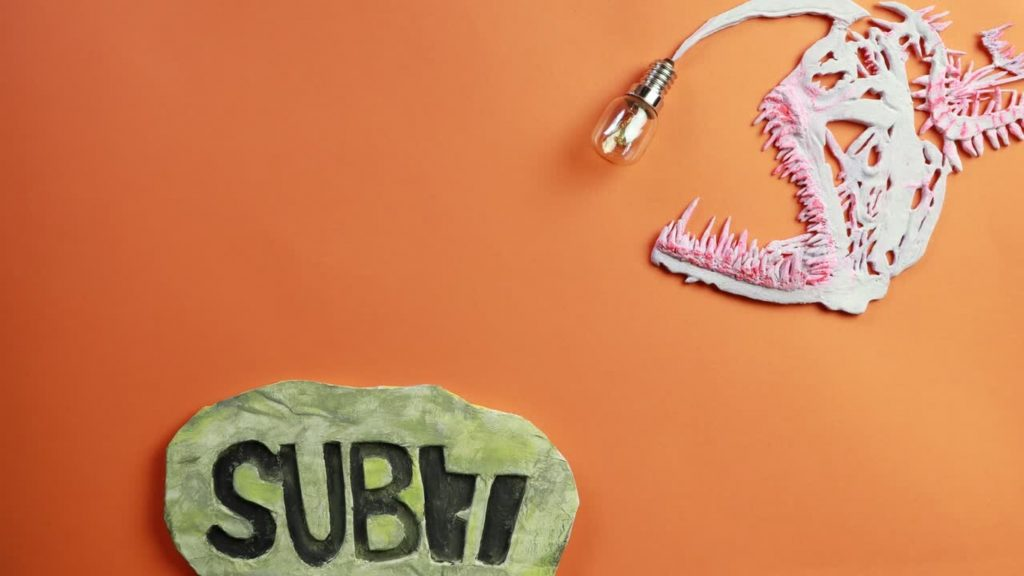
Once the sculpture was complete, I hand painted it with neon pink before going over in pure white to allow the colour to seep through the cracks. This idea was formed from previous experiments I have completed, knowing that when editing colour, little specks of neon or contrasting colours looks compelling. One challenge I came across was deciding where to place the neon highlights and a lot of this just came down to trusting my gut, as I did not want to think too much about logistics.
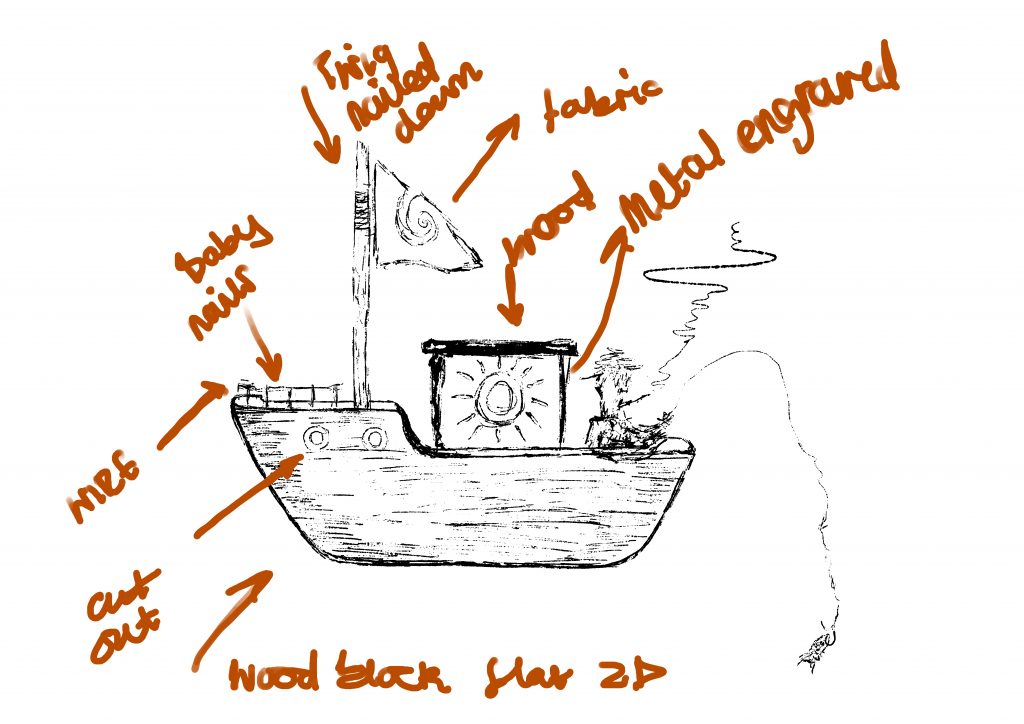
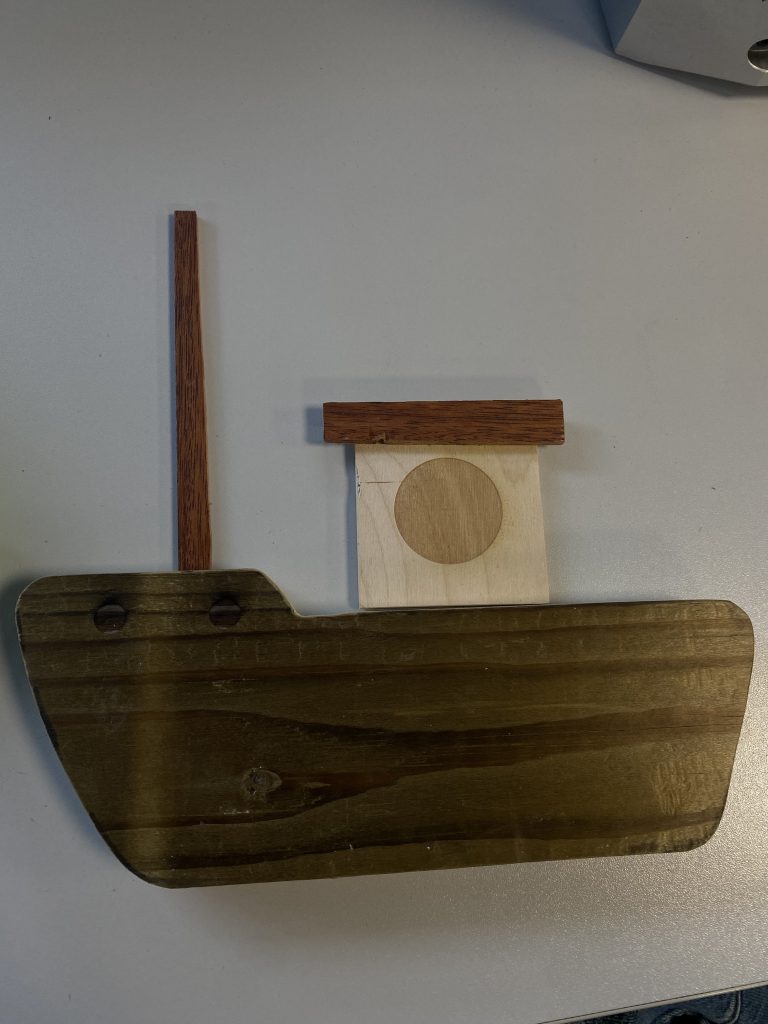
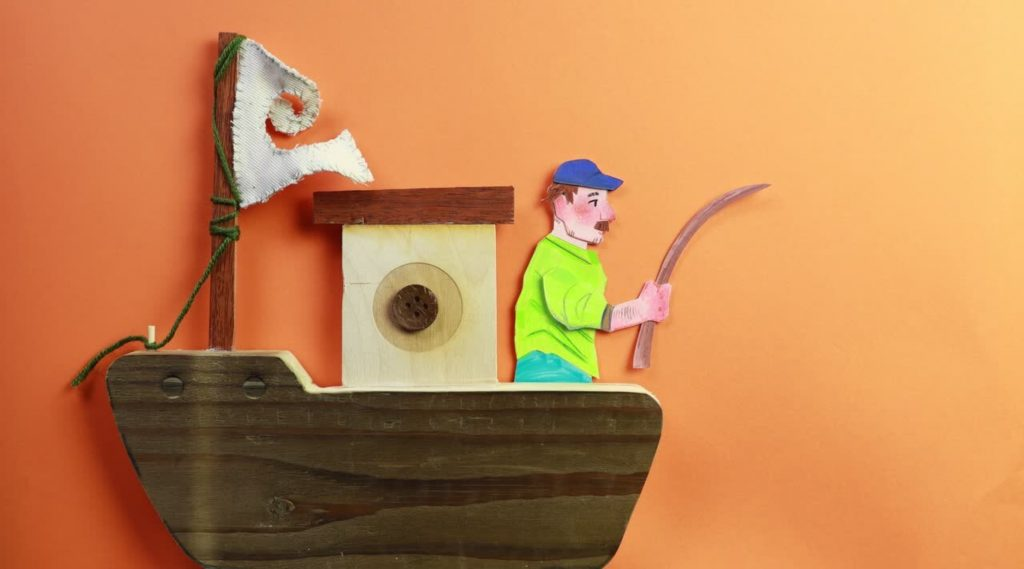
My last experiments were done in the process of completing the boat from our animatic. I began by analysing the original sketch I had completed of the boat. I knew it would take a large amount of time due to the techniques I wanted to utilise. I quickly booked the wood working workshop and began to finalise some details with a procreate sketch.
This also allowed me to idea generate about materials and finalise what I would need to collect/buy. Creating an understanding of the materials and machines I wanted to use was essential to the process, as the workshop slot is only allocated for an hour and as I had very little understanding of how to use the machines, I did not want to waste time.
Afterwards, I went out and retrieved all the materials I needed, first was buying the wood. I knew I wanted a darker appearance and a rough texture, and so I tested them by taking a photo of the wood and editing them very quickly into the shape of my procreate sketch. From this, I was able to comprehend which worked best.
I took all my materials to the workshop and began playing with the machines I had allocated for that hour. I had the opportunity to learn about the machines and apply my new skills when creating the boat. I used my time wisely and after one session, I was able to have the boat complete, planning my idea, working from a sketch and having knowledge about the machines by researching on moodle, helped me with my time management. I did encounter challenges that were unable to be calculated such as queuing for machines, making mistakes and having the start again etc. but I made sure to allocate a little extra time in the hopes that I would be okay.
The rest of the boat required hand-made elements, so I began sewing together two pieces of spare fabric my teammate had from a previous project, I used this as the flag. My idea came from Coraline and the waving flag, along with the spiral symbolism within the movie. Once I had sewn the two pieces together, it looked flat and was hard to animate, so hot glued wire to the back of the flag and found that it was much easier to manipulate.
The last little elements were easy to incorporate but made the boat come together. I hot glued a button onto the front of the shack, tied wool as rope and added a little piece of wood to keep the wool in place.
PADLET LINK
https://artslondon.padlet.org/ebarker0120242/submerged-czwpjhr5krw698in
Leave a Reply